
One of the very main reasons why we love Android is because it’s open source, that means the possibilities are limitless. Today we have a method of booting Windows 7 into PC using an Android device, how cool is that?
Note:
– With this method you can also boot Windows 8.0, Windows 8.1, Linux,too.
Requirements:
1. You need a rooted Android device.
2. You need Windows 7 installation files.
STEPS:
1. Download DriveDroid app from playstore (Link).
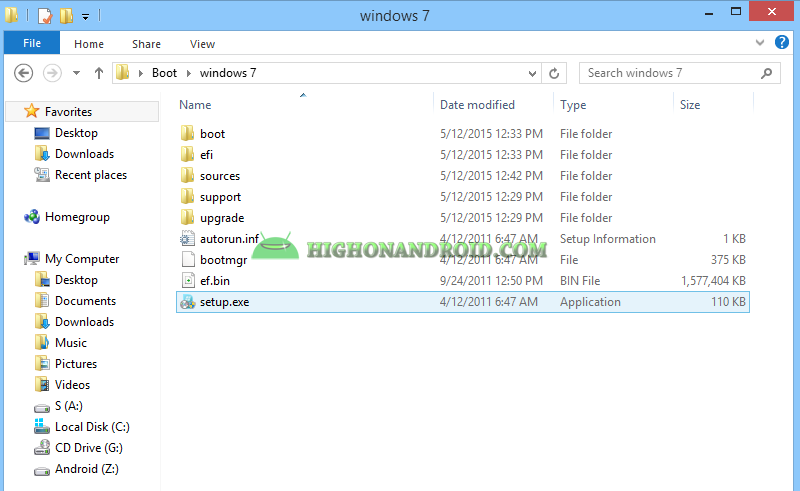
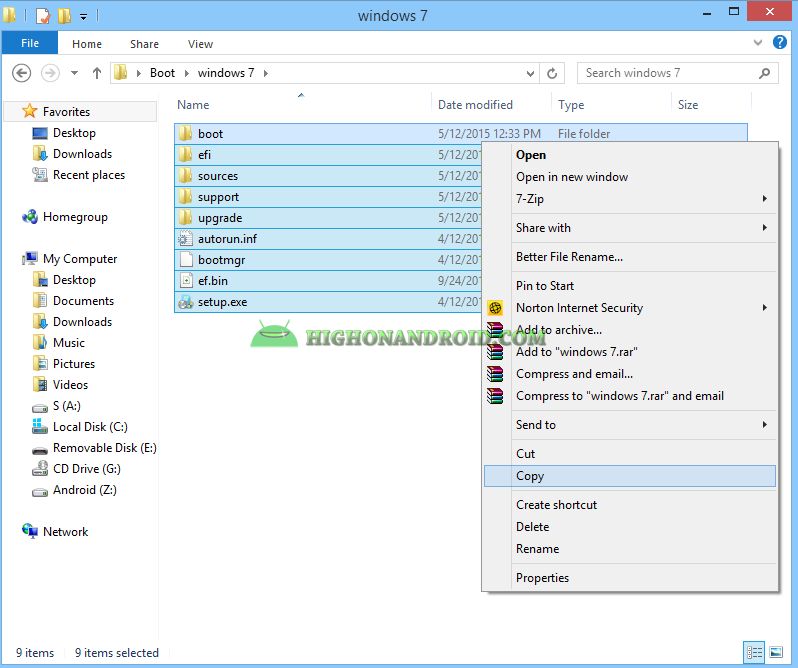
2. Prepare Windows 7 files from your installation Disc, it should look like the screenshot below.
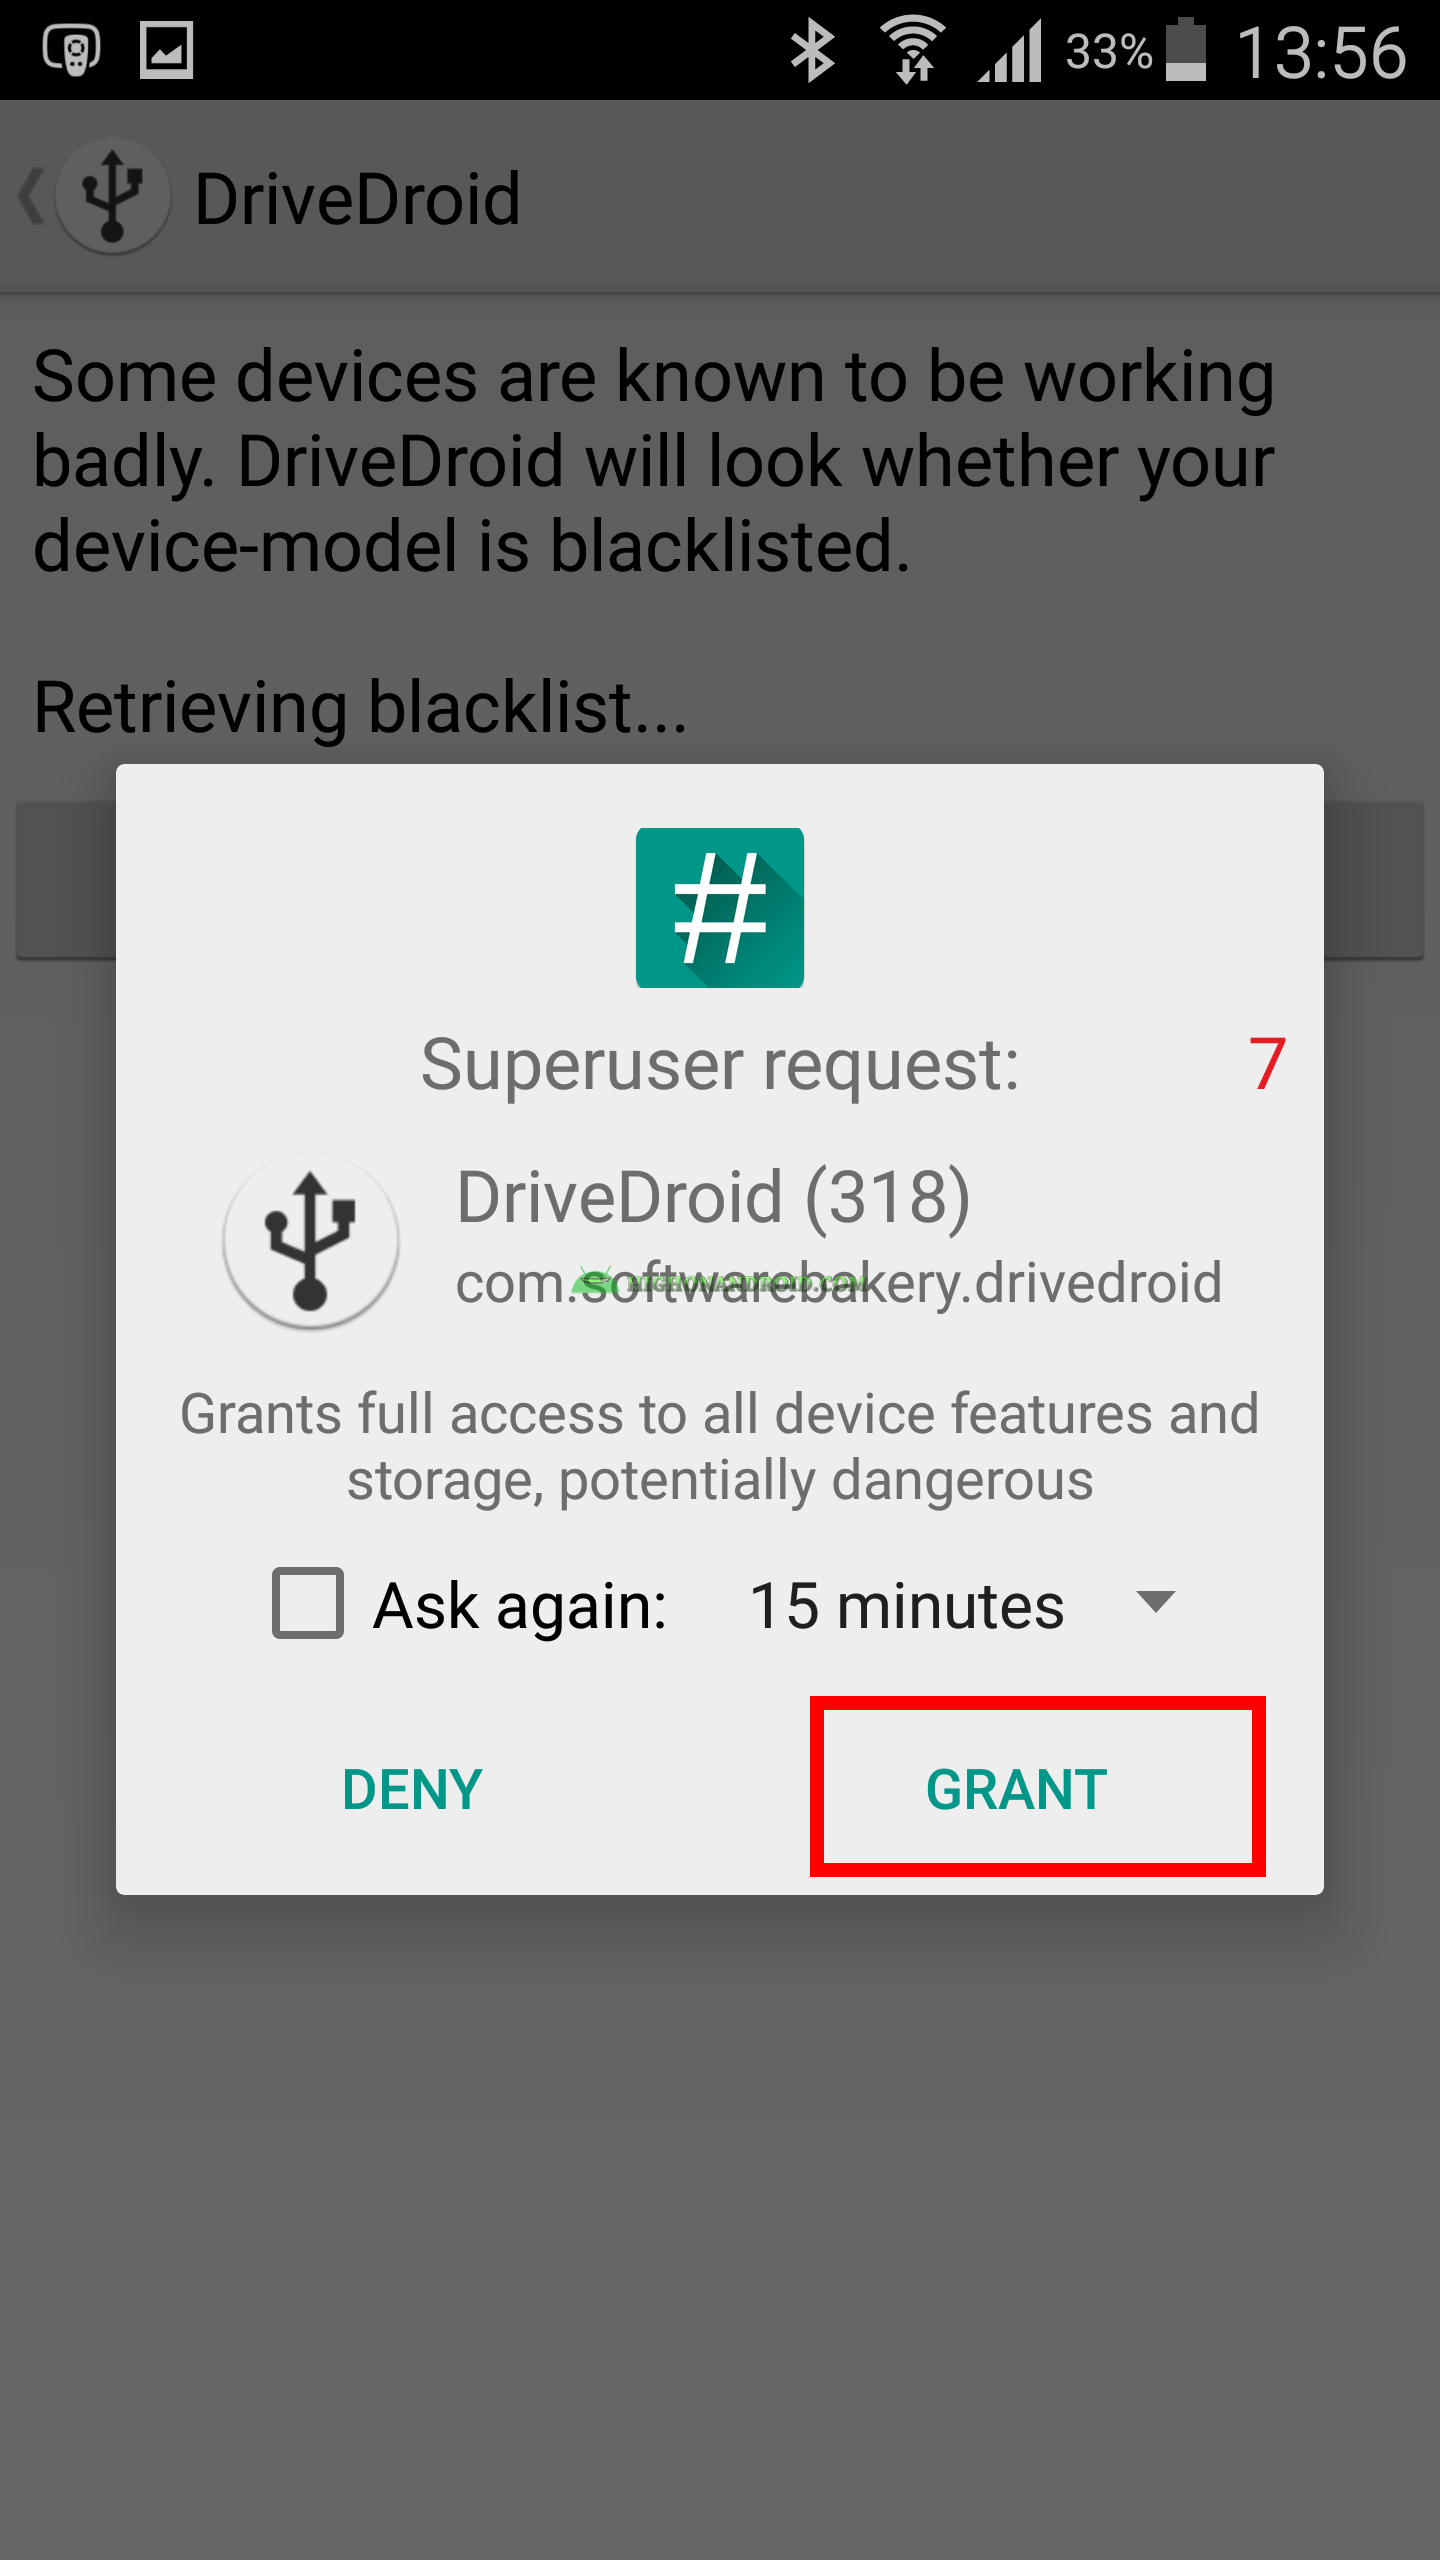
3. Open DriveDroid app and give it root permissions.
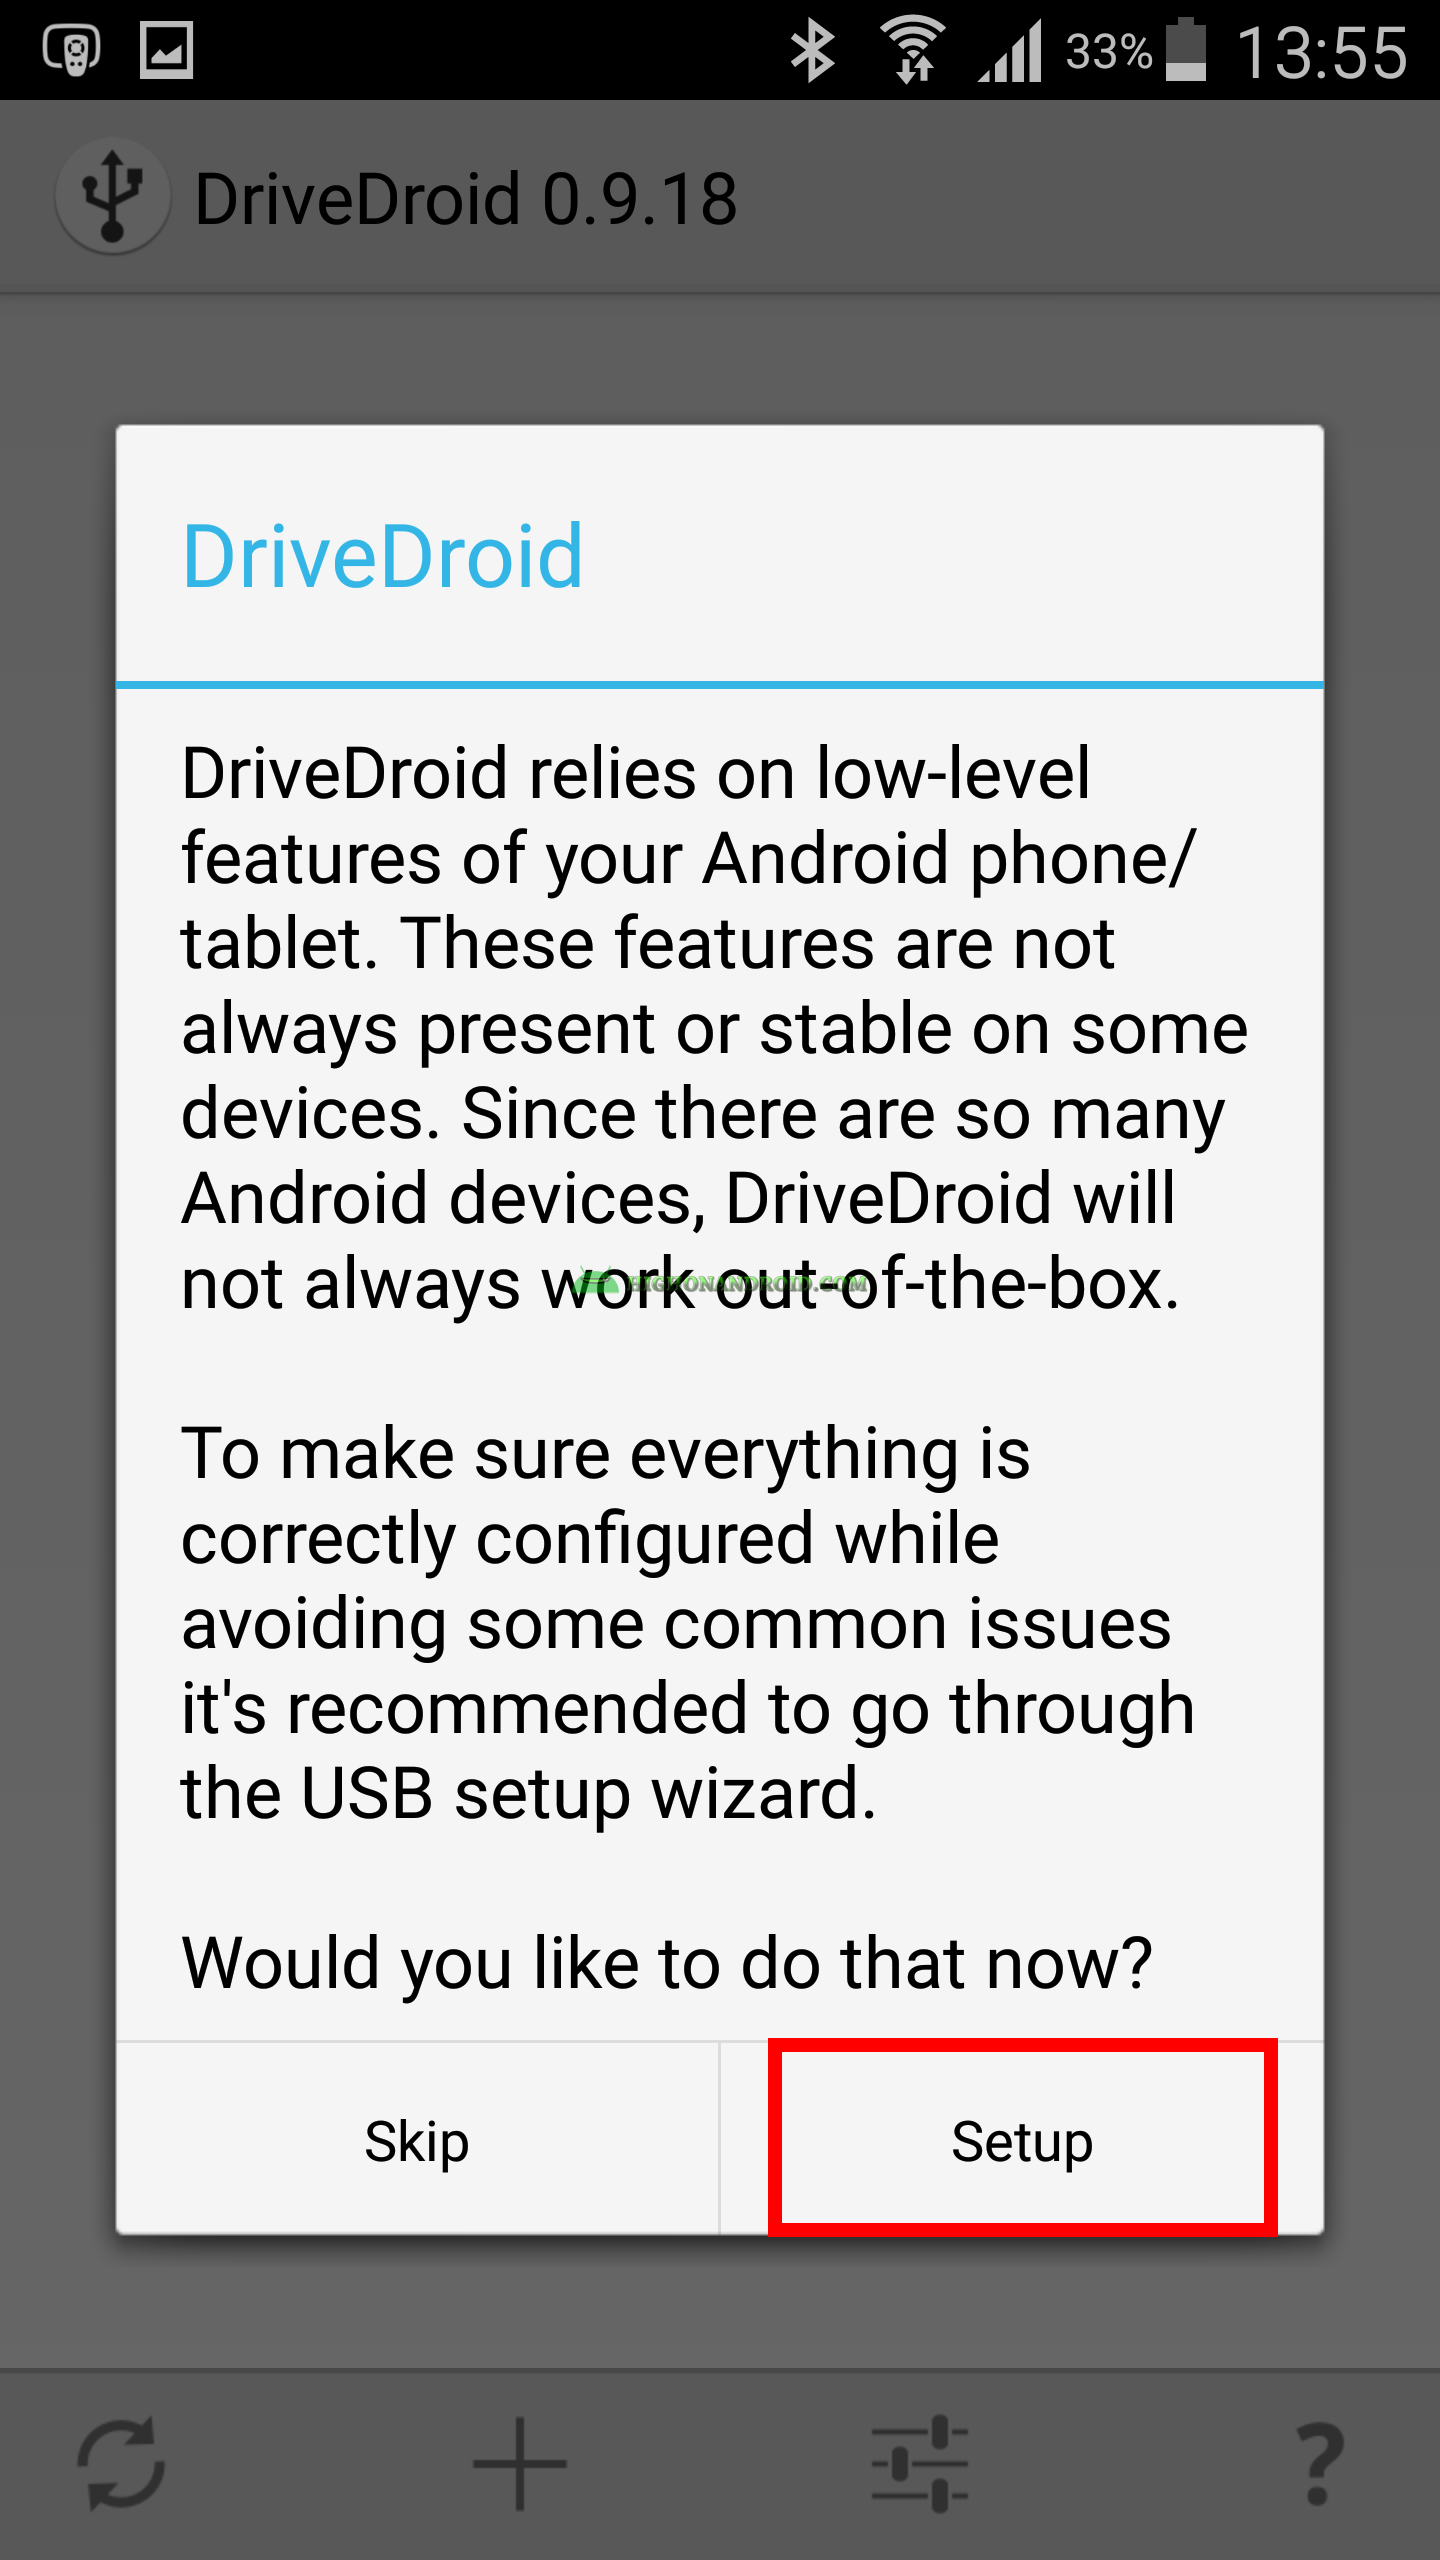
4. Then the below screen will appear at which you can either “SKIP” or proceed to “SETUP” to check whether your phone/tablet works with this app or not.
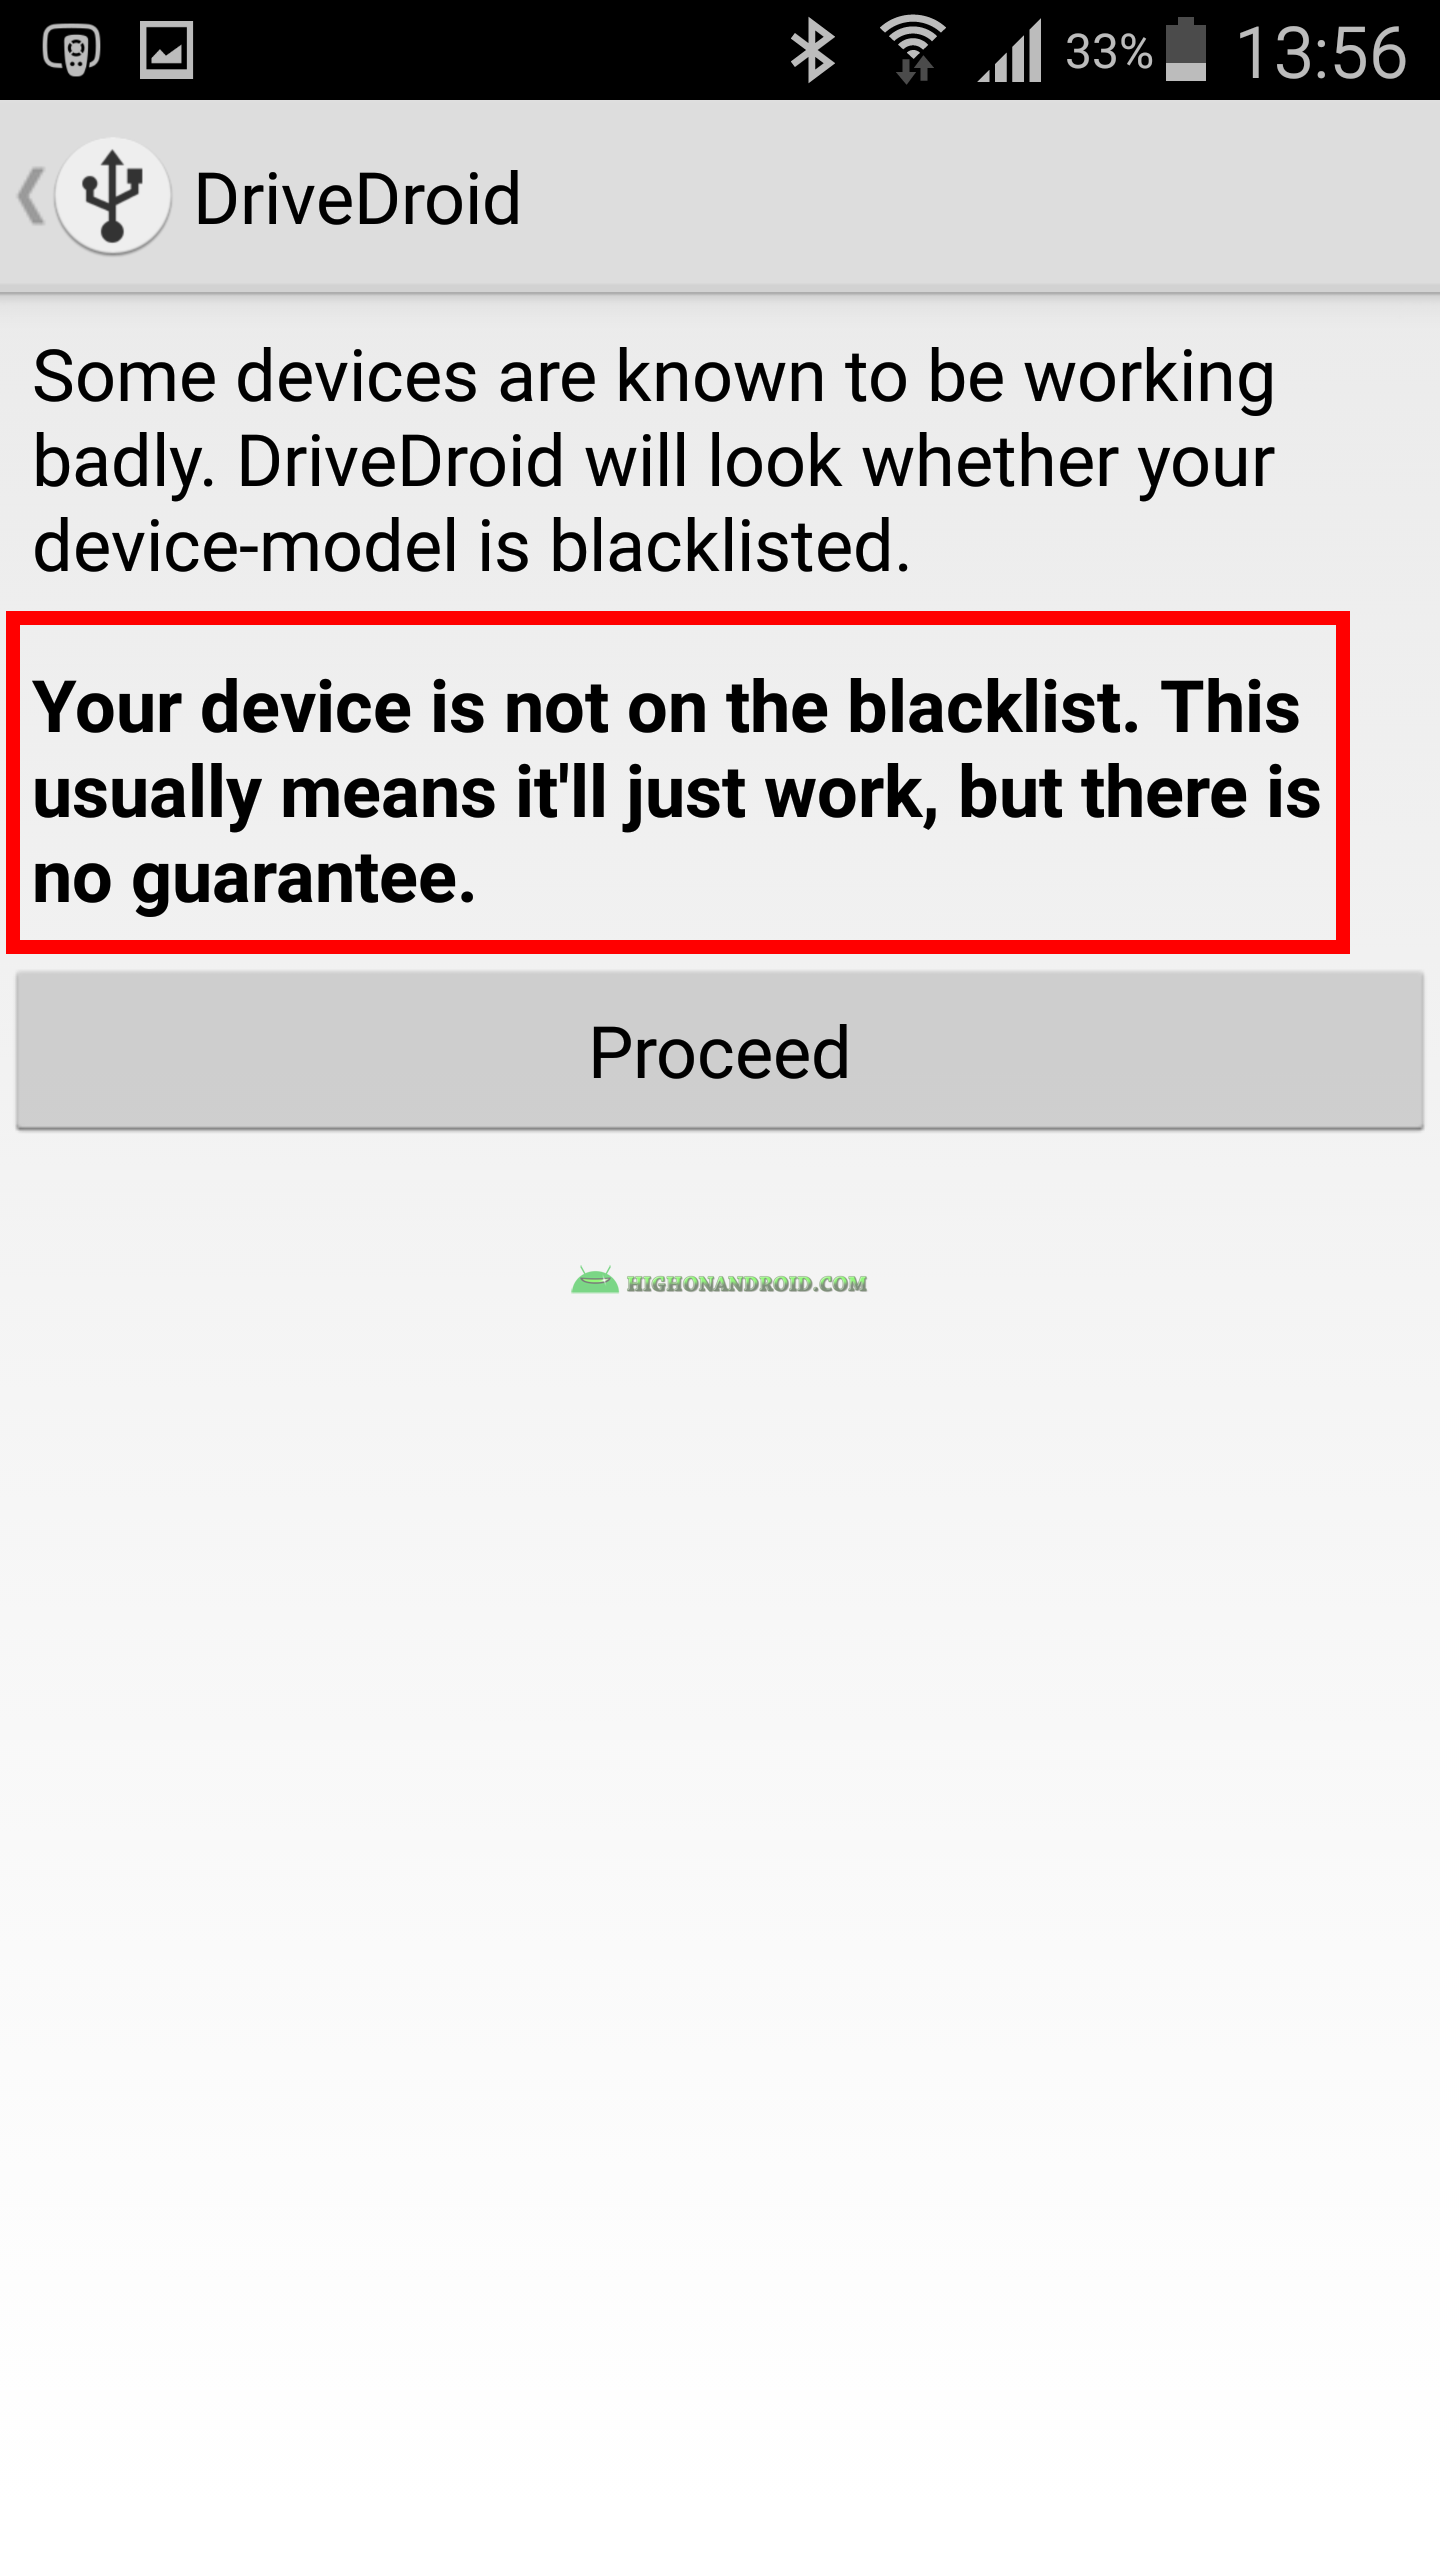
– Our Galaxy Note 4 has no problems with the app and works according to the below message.
From this point on, you can either proceed to next step or simply go back to the main screen of the app to start adding the image file.
5. This is the app’s main screen.

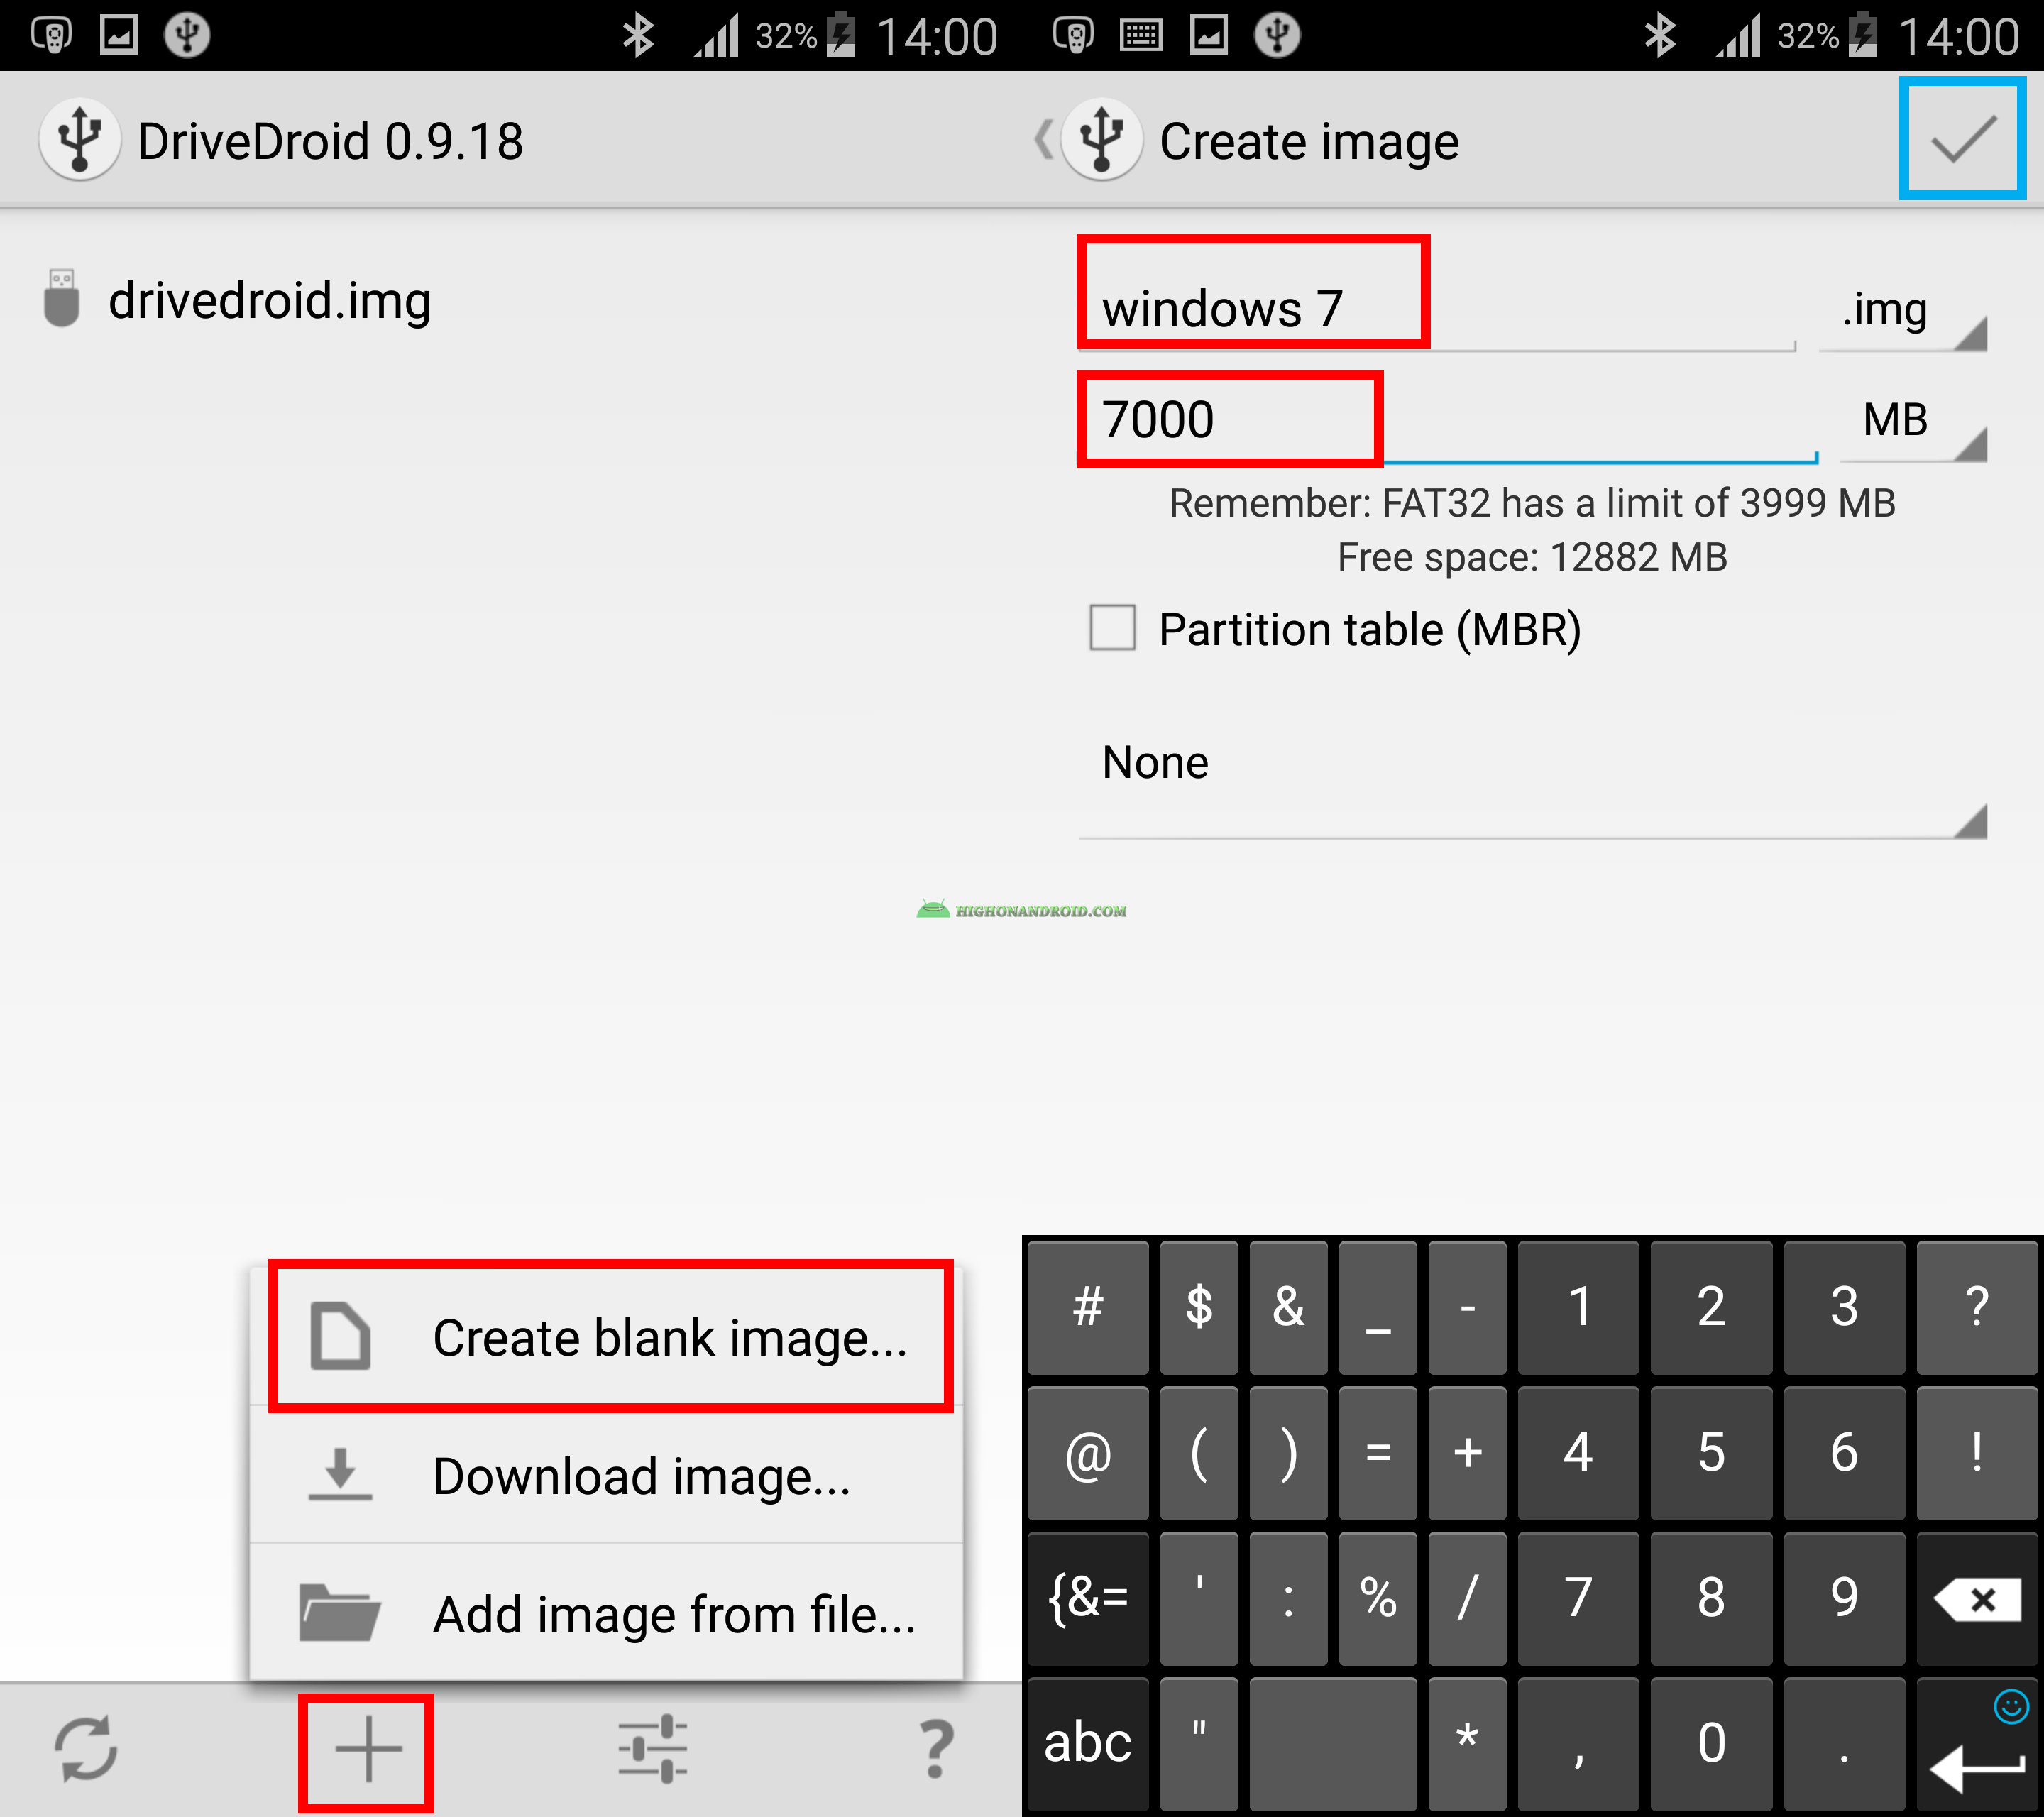
6. Tap on the “plus” sign and choose “Create blank image…” and then give the image file a name and size. I will choose “Windows 7” for the name and give it 7,000 MB size because my Windows 7 files contain several different versions of it, yours might be smaller and thus you should reduce your image size to near 4,000 MB and so on. after that simply tap on the true sign at the top right corner of the screen to proceed to the next step.
7. The process of creating a blank image will start, you can see the progress in the notification bar, wait until it finishes.
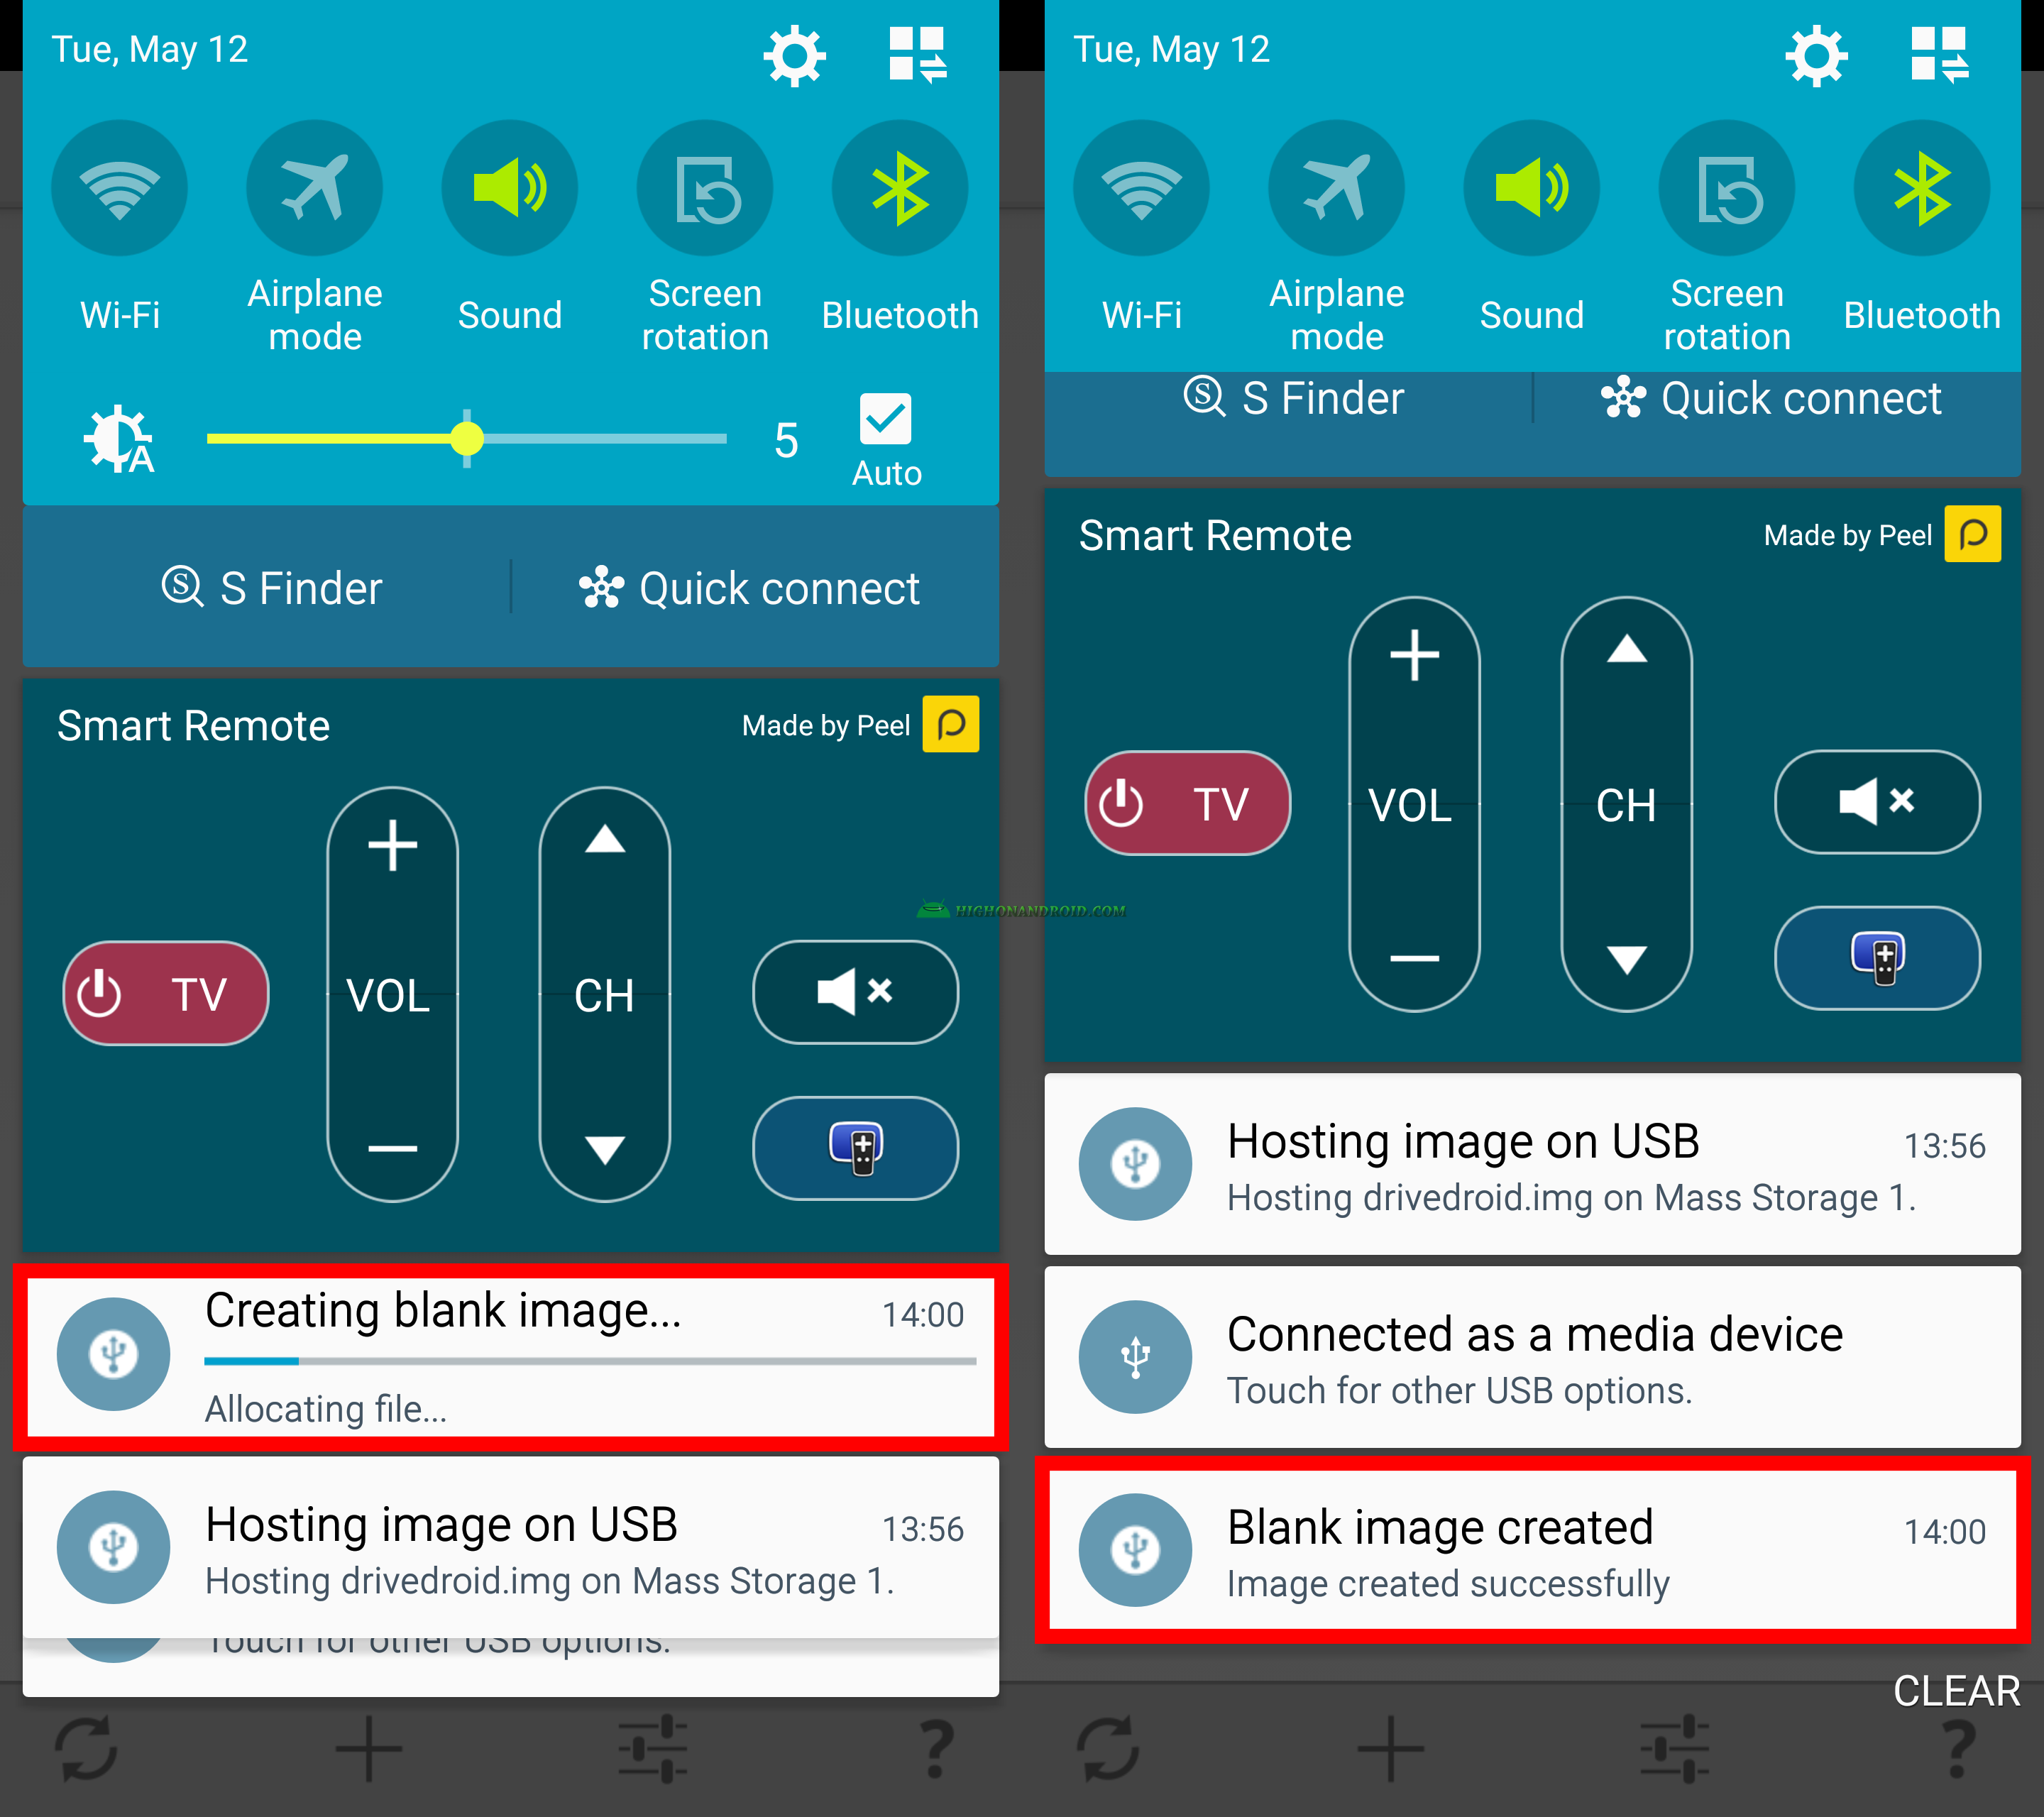
8. Then close the app and open it again, we see that “Windows 7.img” is created.
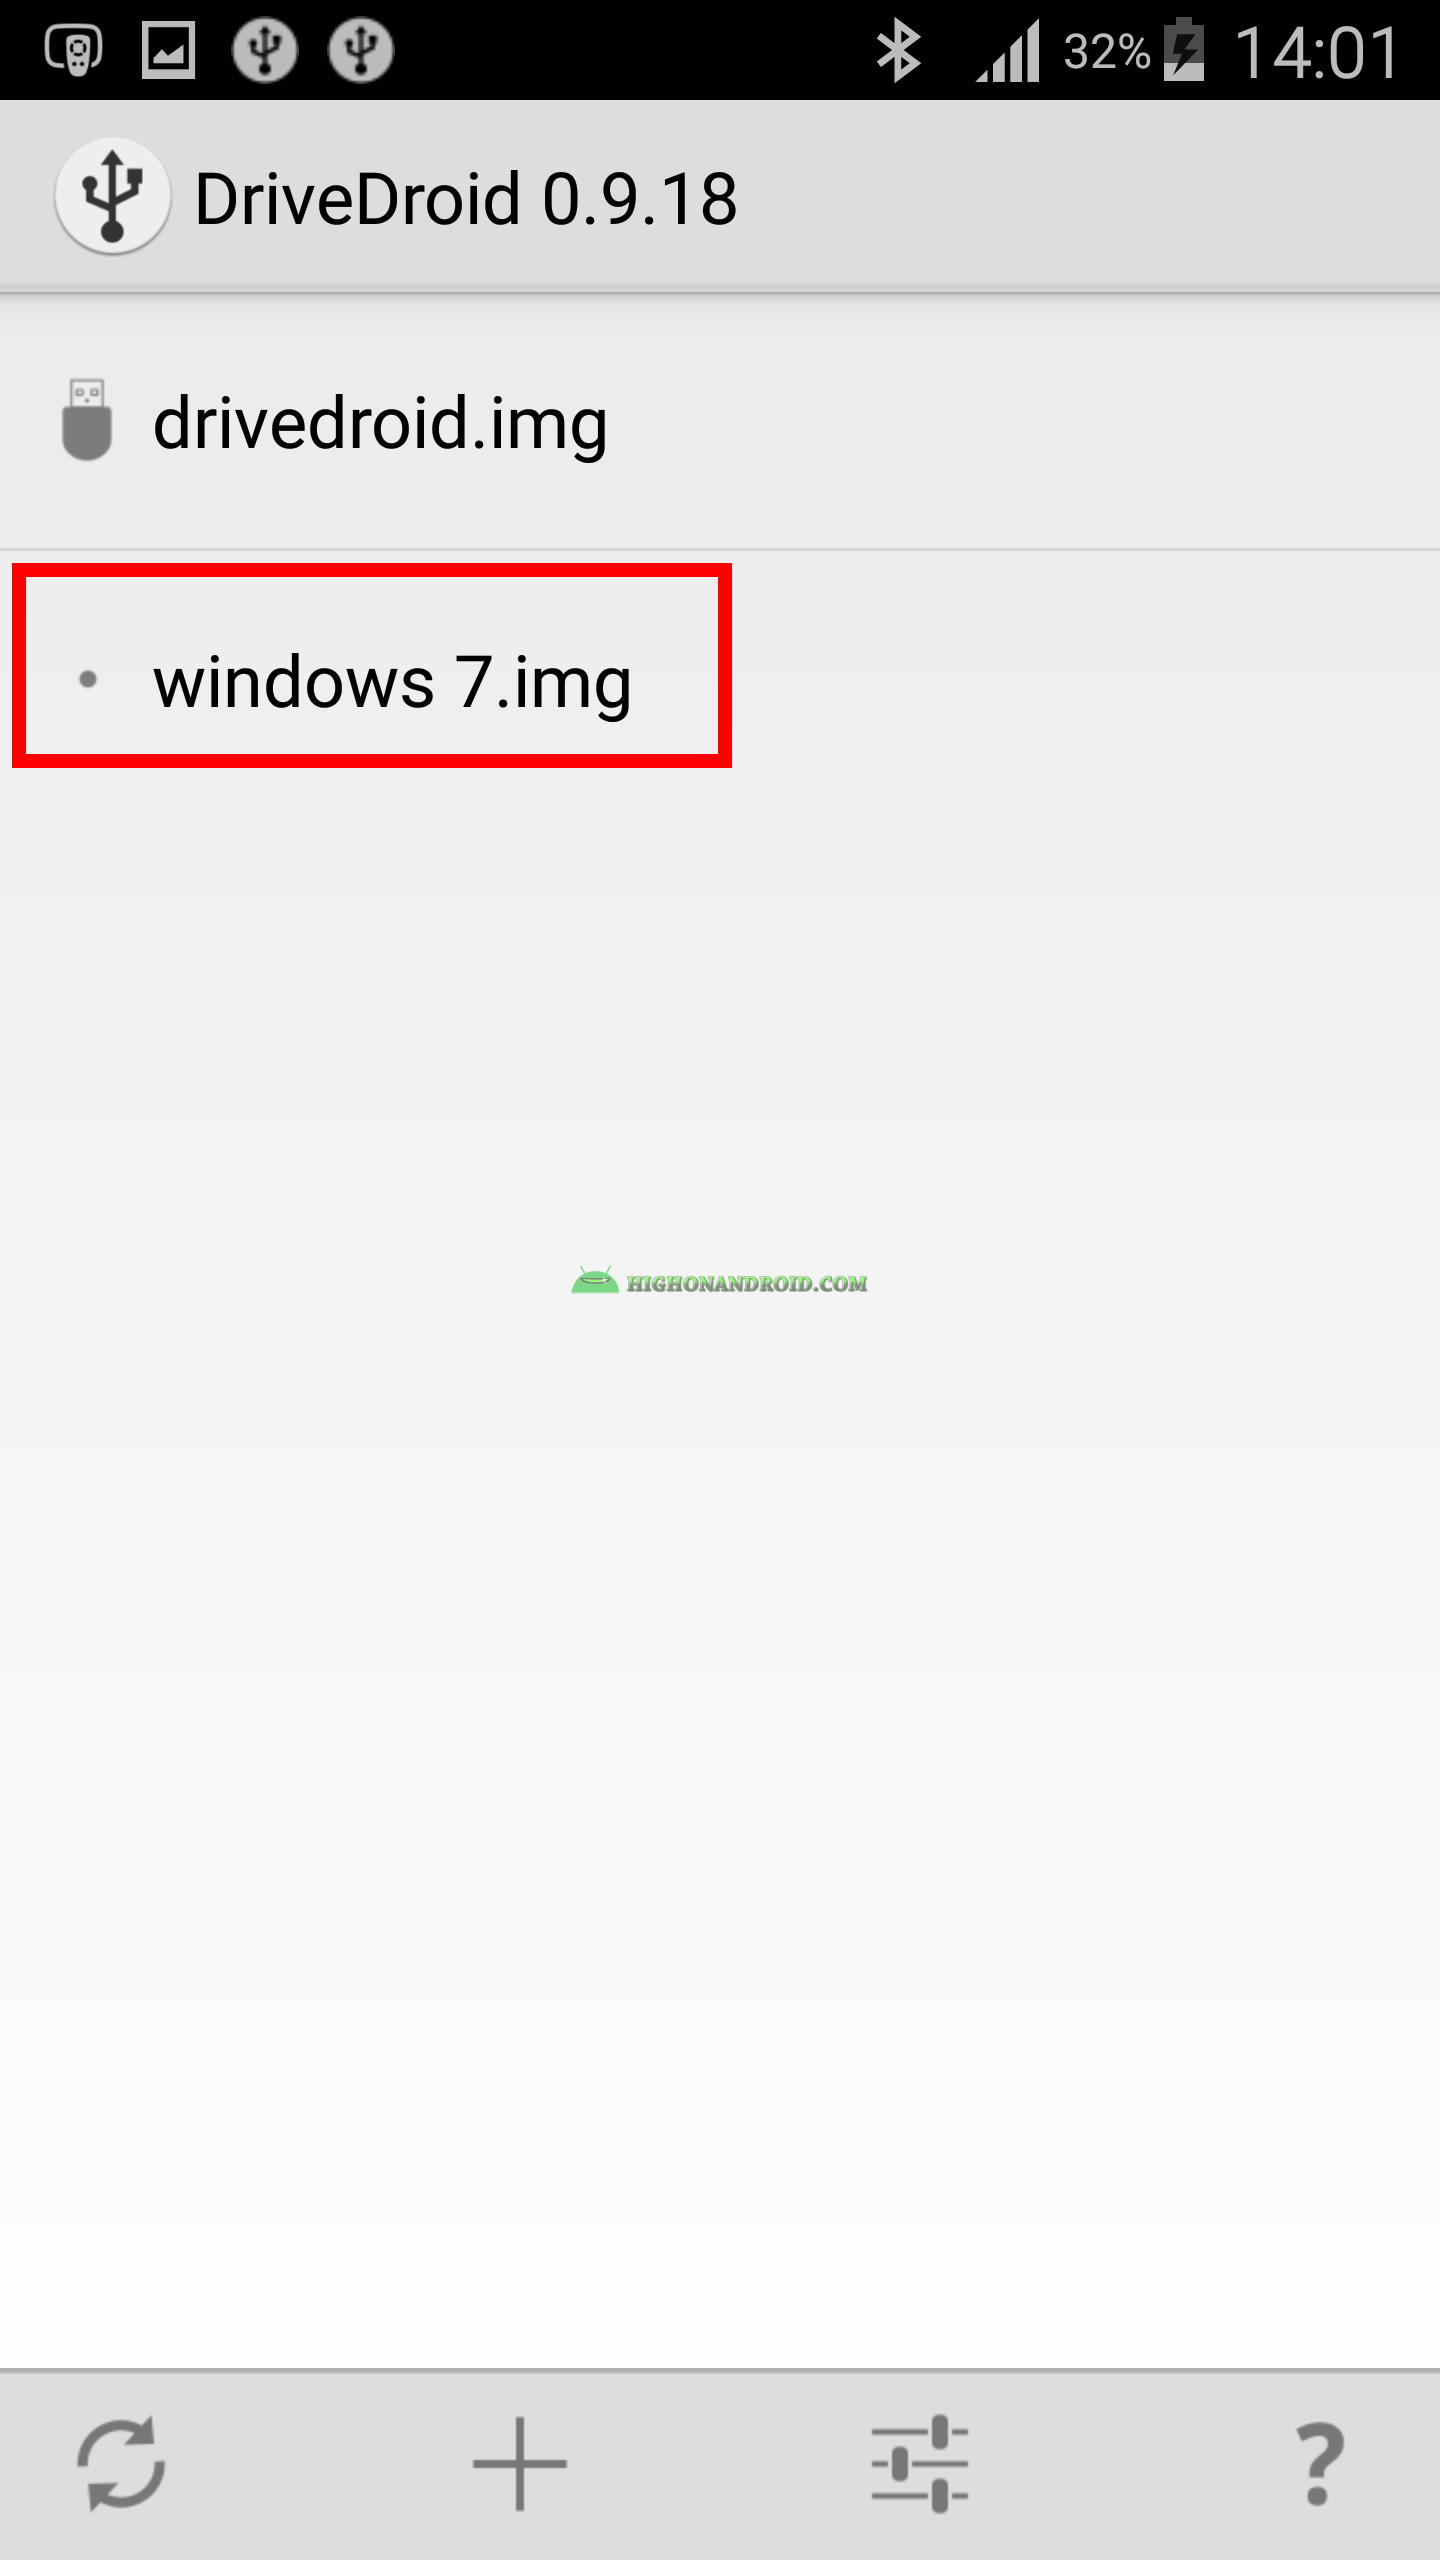
9. Tap on the “Windows 7.img” and then tap on the “Writable USB” button.
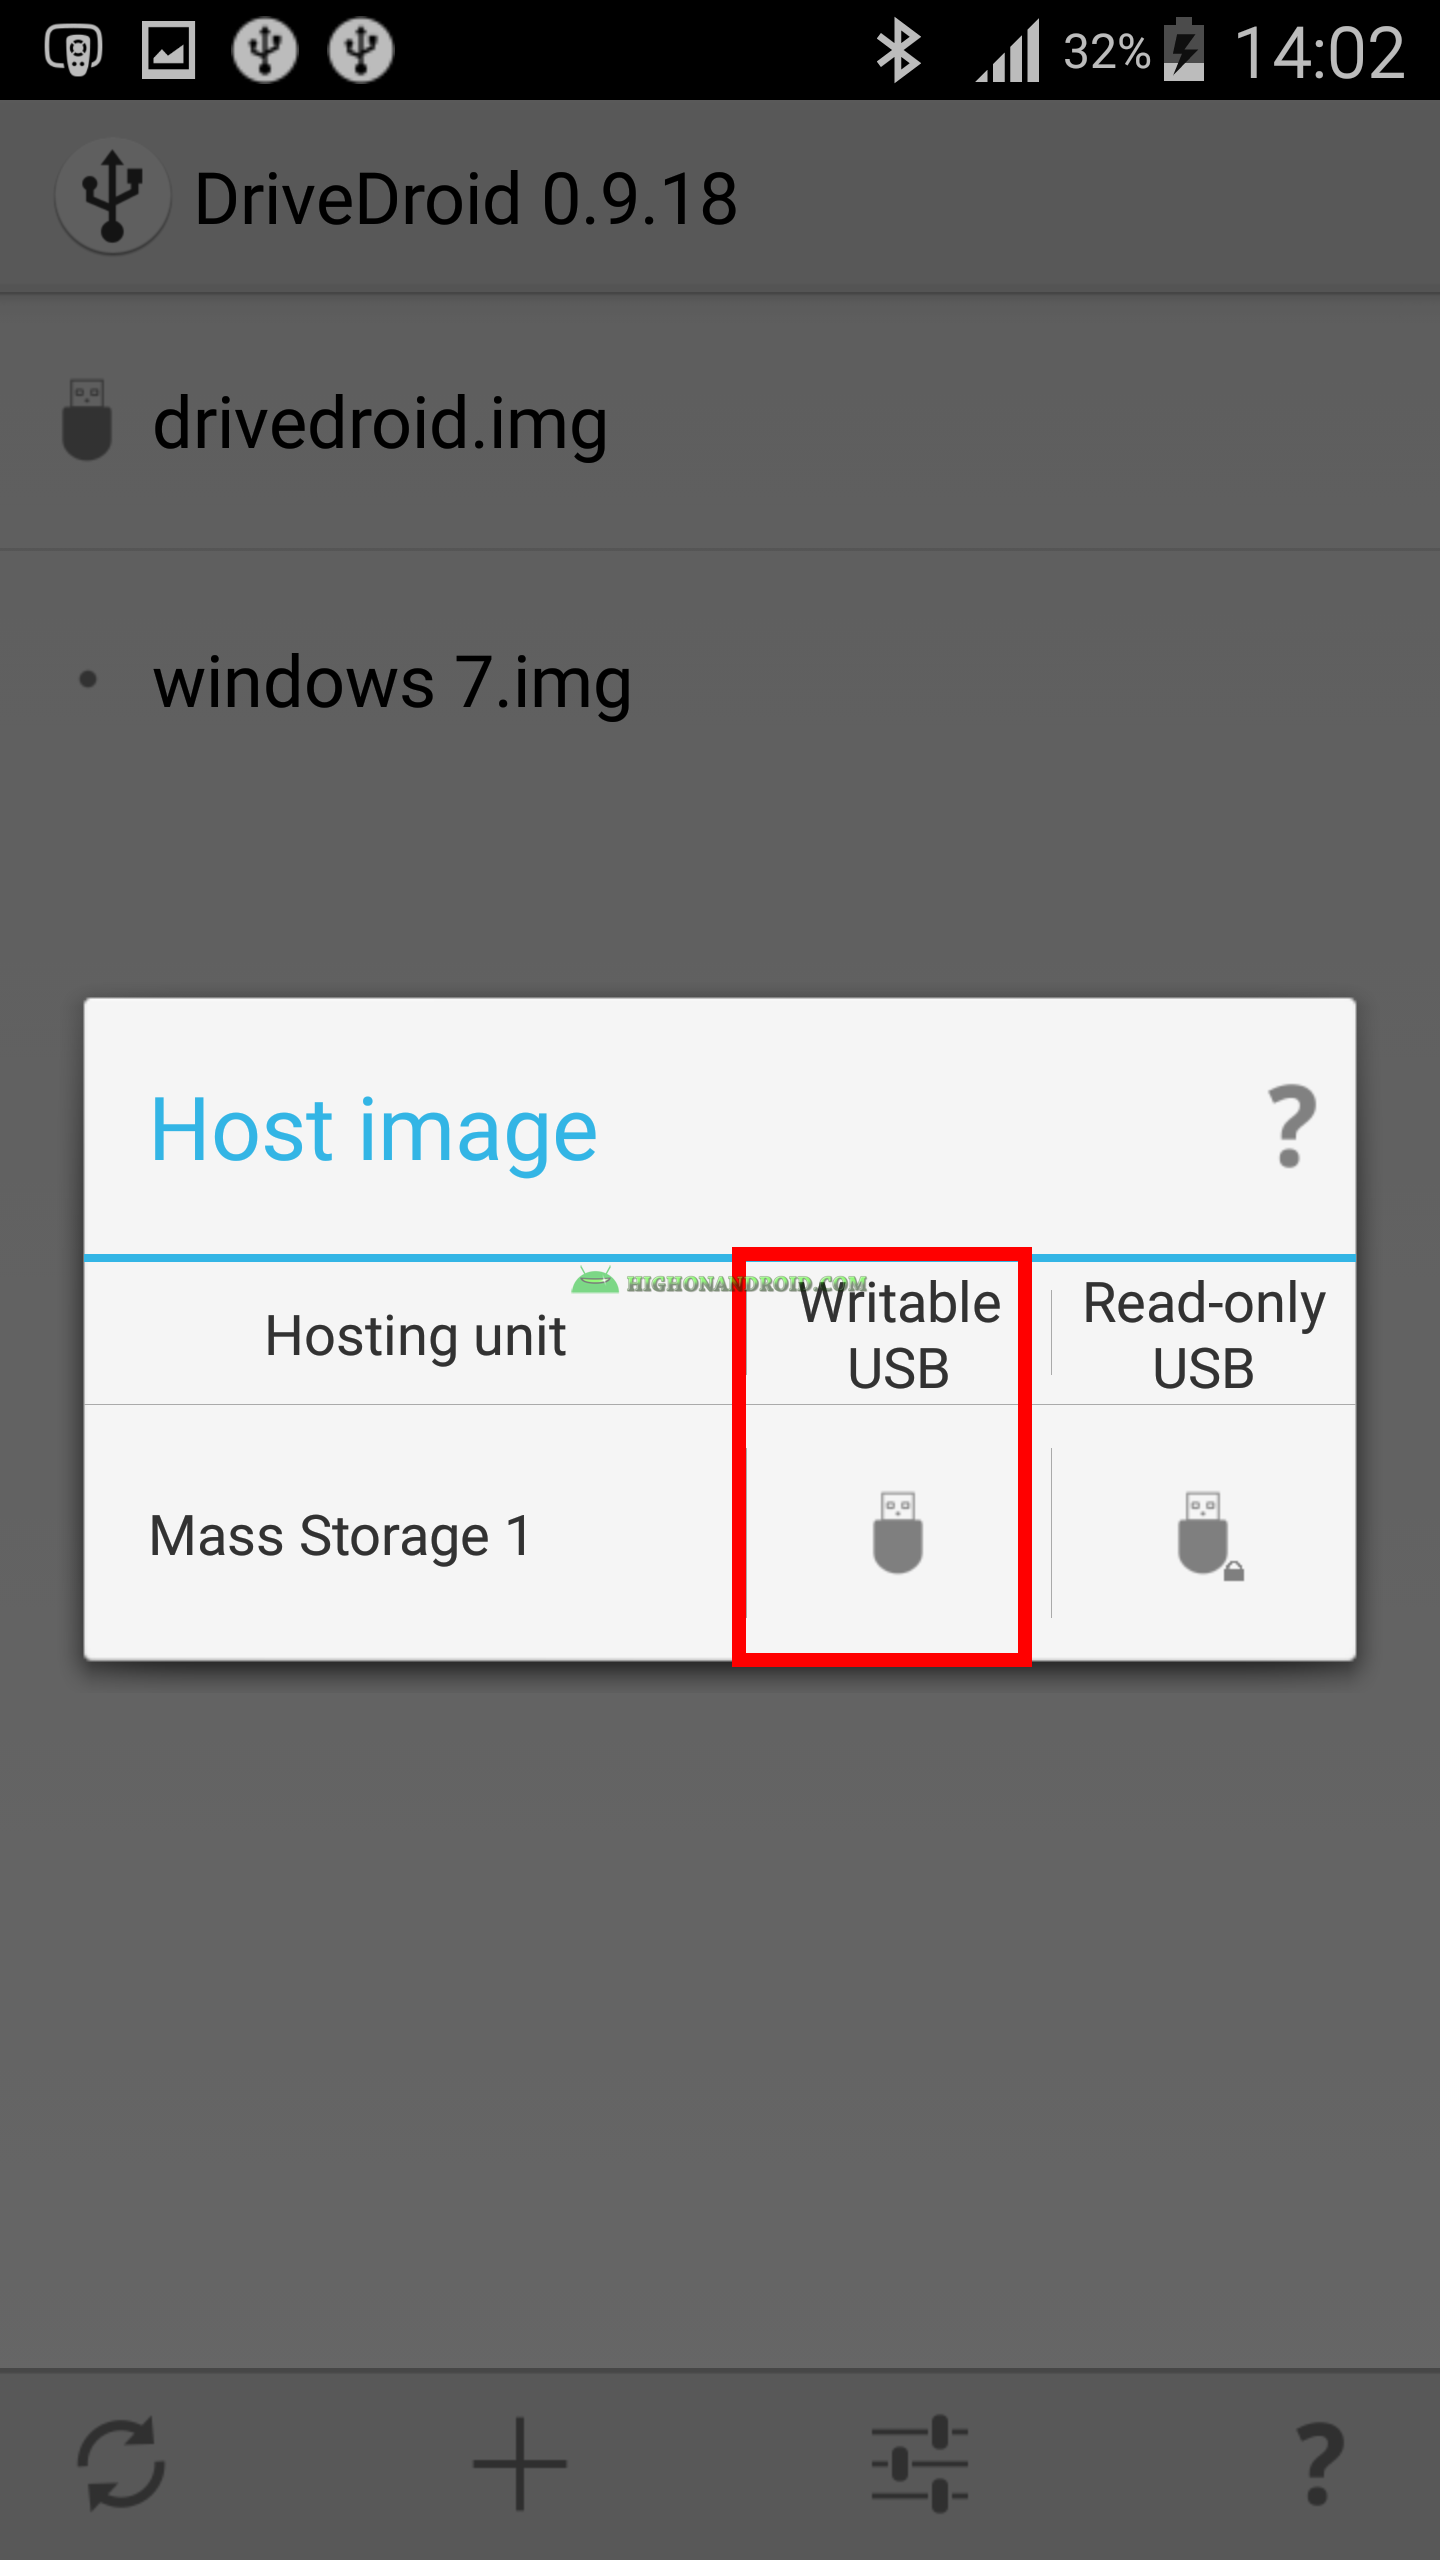
10. Now, the phone steps are done, simply keep the “Drive Droid” app open and head for the computer.
11. You should now see a “Removable Disk” in my computer which is the partition that you created in step 9, but it’s not yet ready.

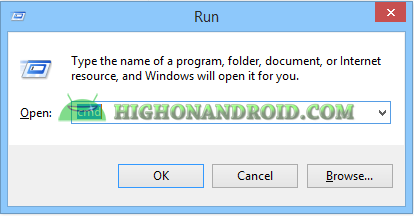
12. press on “Windows” button + “R key” button to open Run, and then type “cmd”.
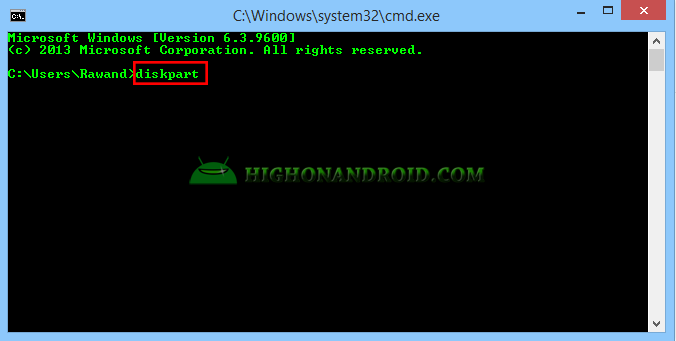
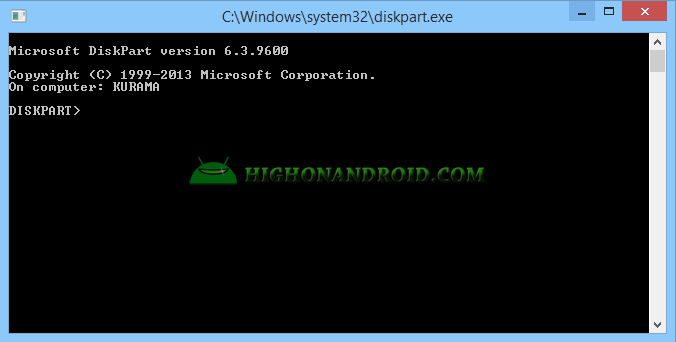
13. Then type diskpart and Enter.
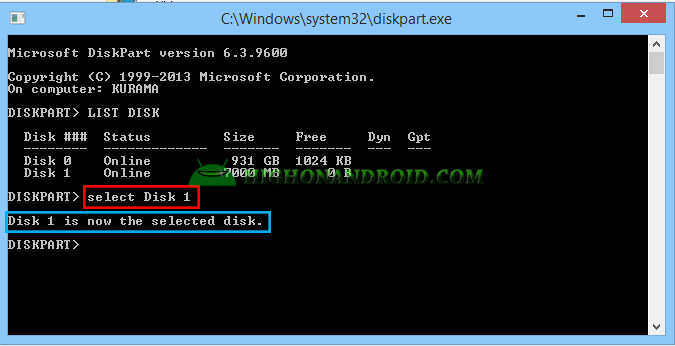
14. We then want to show the connected disks by simply typing LIST DISK and Enter, the list of connected disks will show up including the one we created with the size of 7,000 MB.
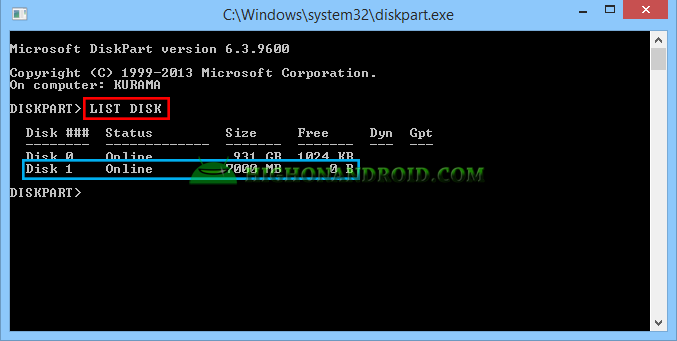
15. We want to select that specific disk, to do that simply type select disk 1 and Enter.
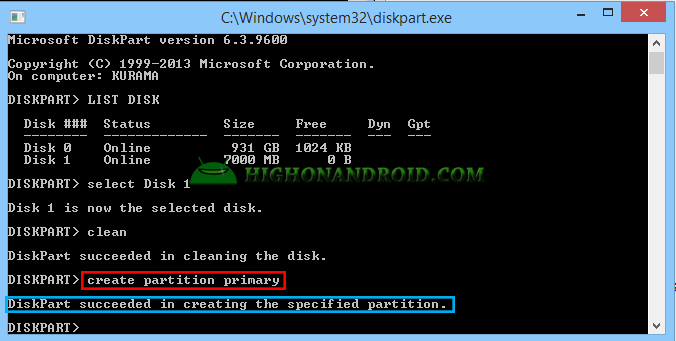
16. We then create partition table by typing clean and enter.

17. Then we create the partition by typing create partition primary and Enter.
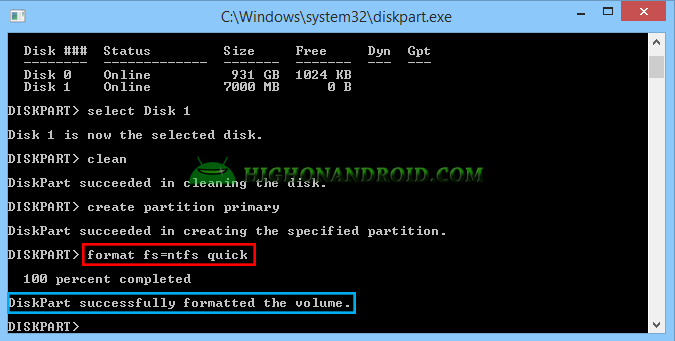
18. For windows 7 installation, we need NTFS filesystem, we can simply format NTFS filesystem on the partition by typing format fs=ntfs quick and Enter.
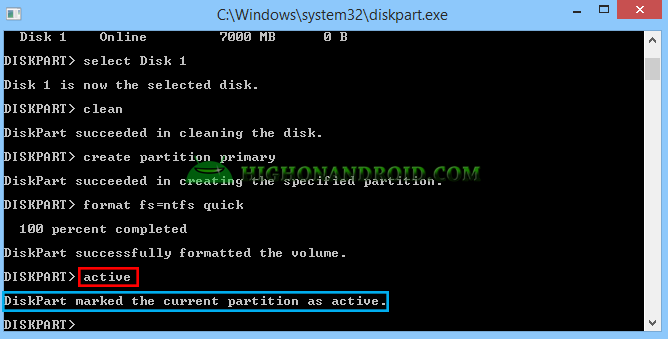
19. We then want to make the partition bootable by typing active and Enter.
20. Then we exit DiskPart by typing exit and Enter.
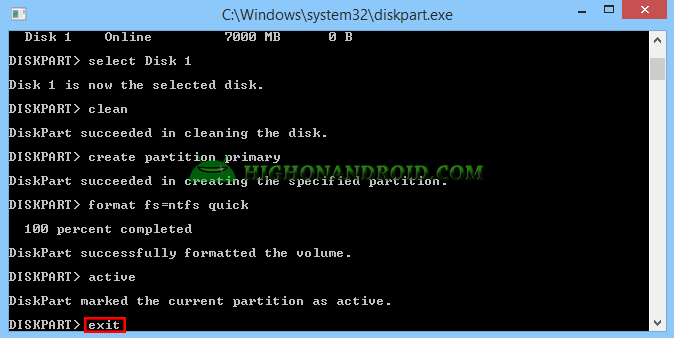
21. As we can see, the partition that we created is ready to use.

22. Now we copy Windows 7 installation files to the Removable Disk.
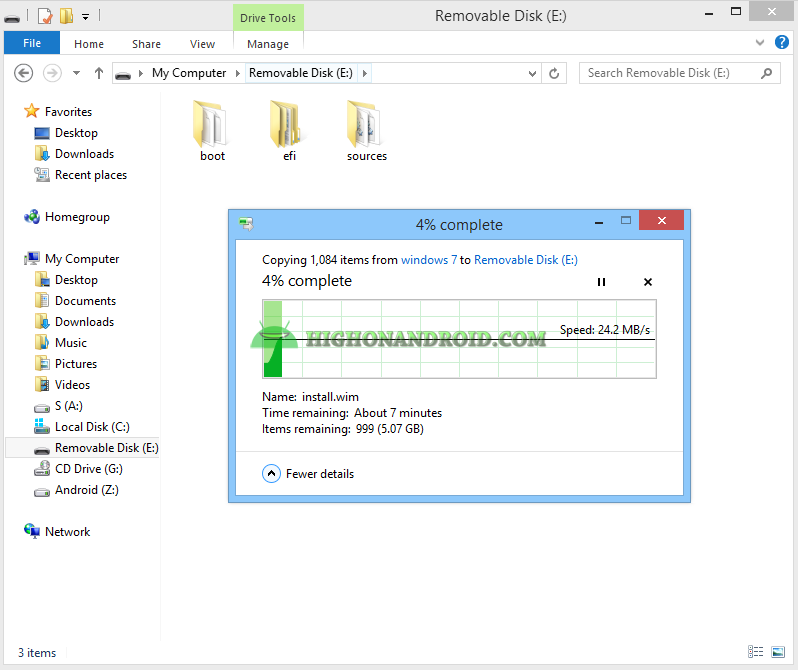
23. Now, our phone is ready to be used on our PC or other PCs to boot into Windows 7 from it.
Booting Steps:
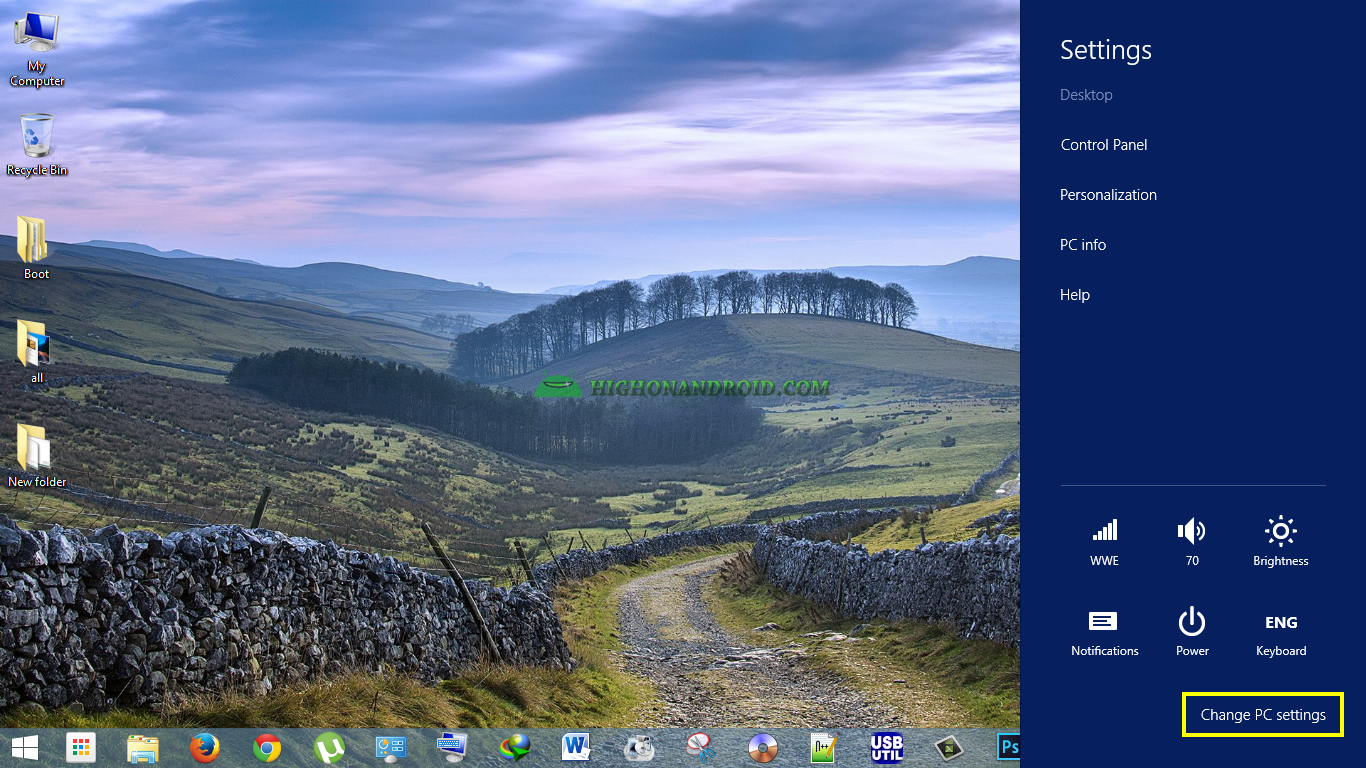
1. The first thing we do is to boot the PC and go to BOOT menu then choose our phone as the 1st drive to boot from. Since our PC is running Windows 8.1, the steps are little different before booting the PC.
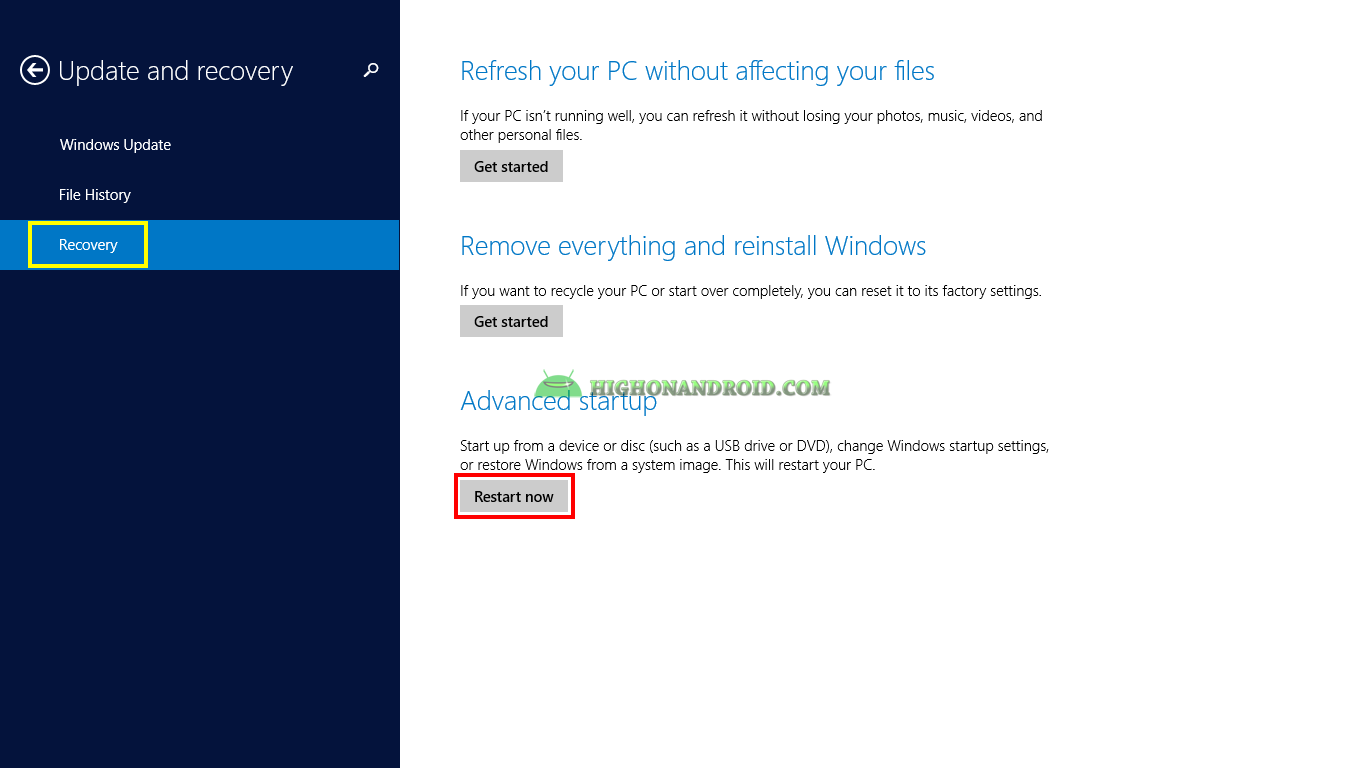
2. Go to Settings > Change PC Settings > Update and recovery > Recovery > Advanced Start up > Restart.

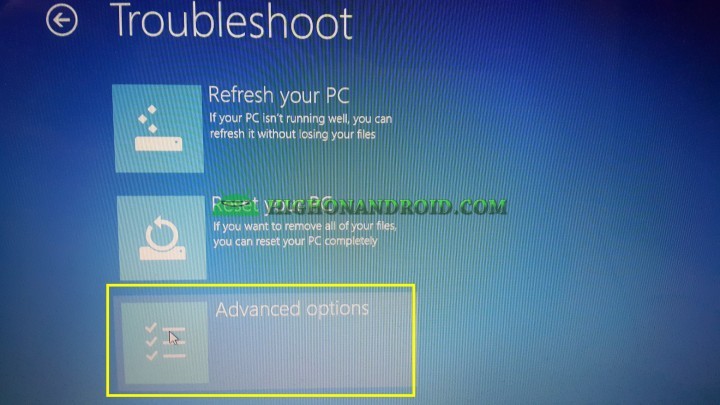
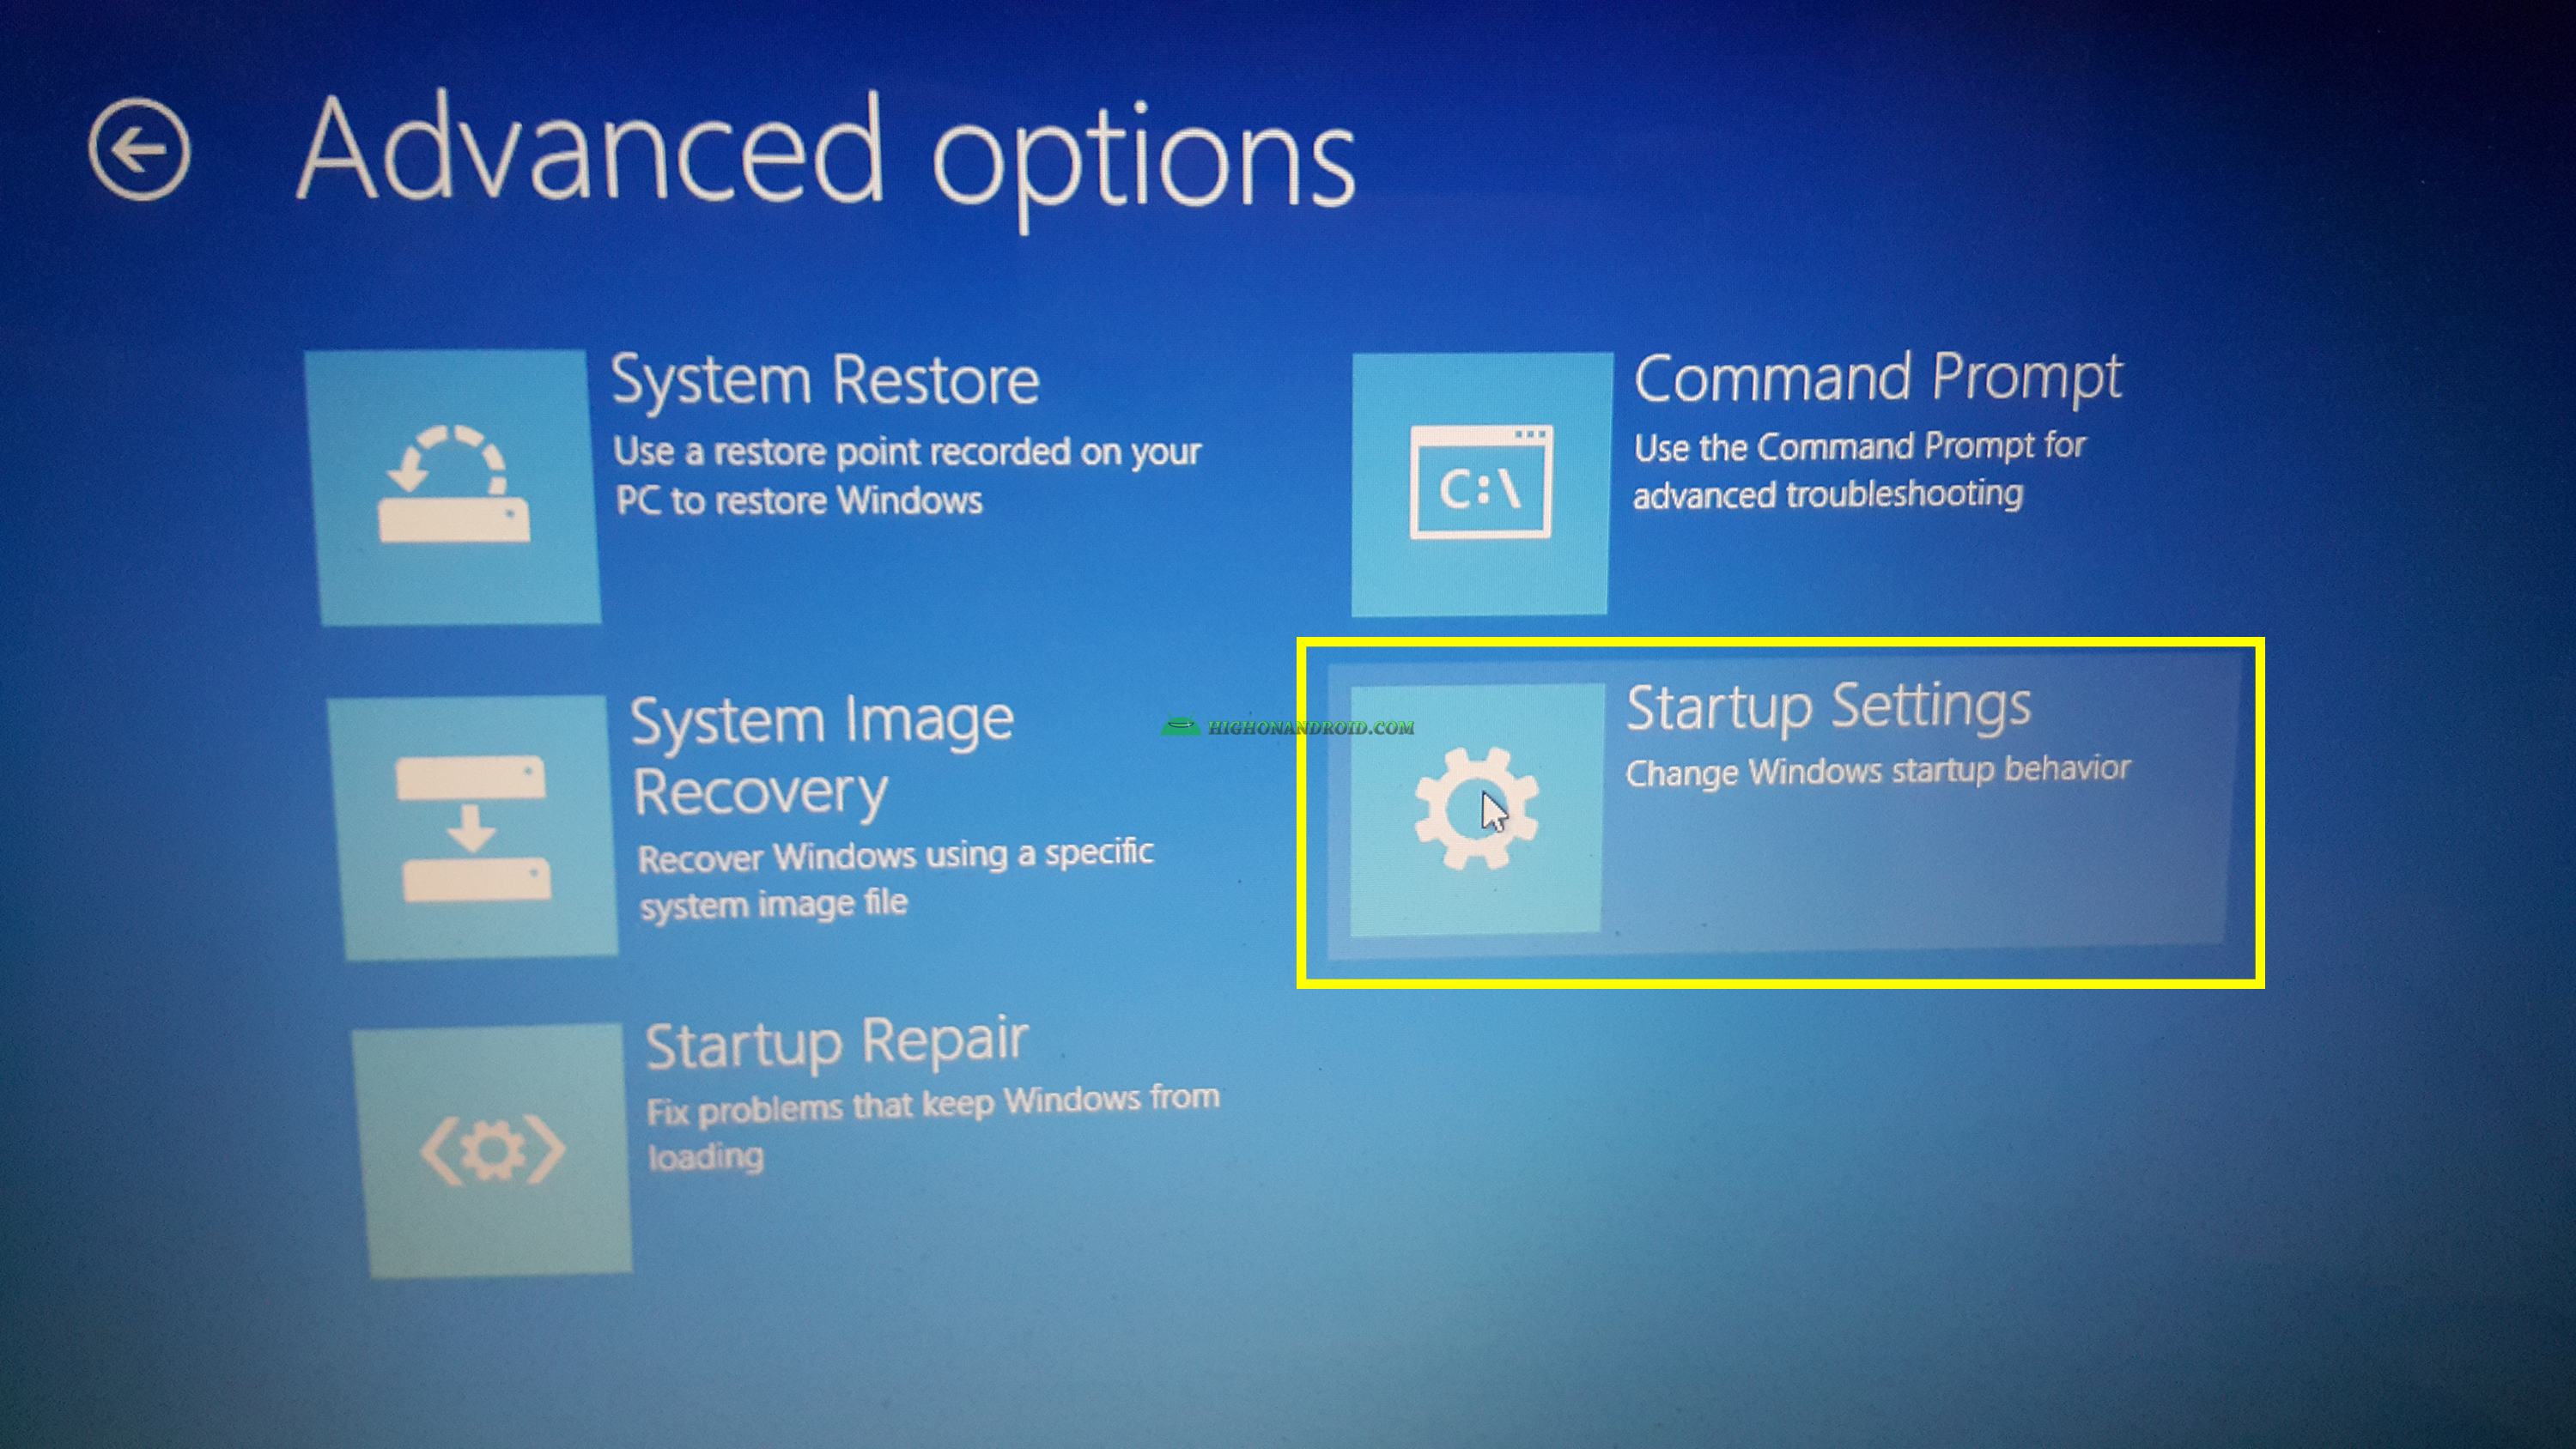
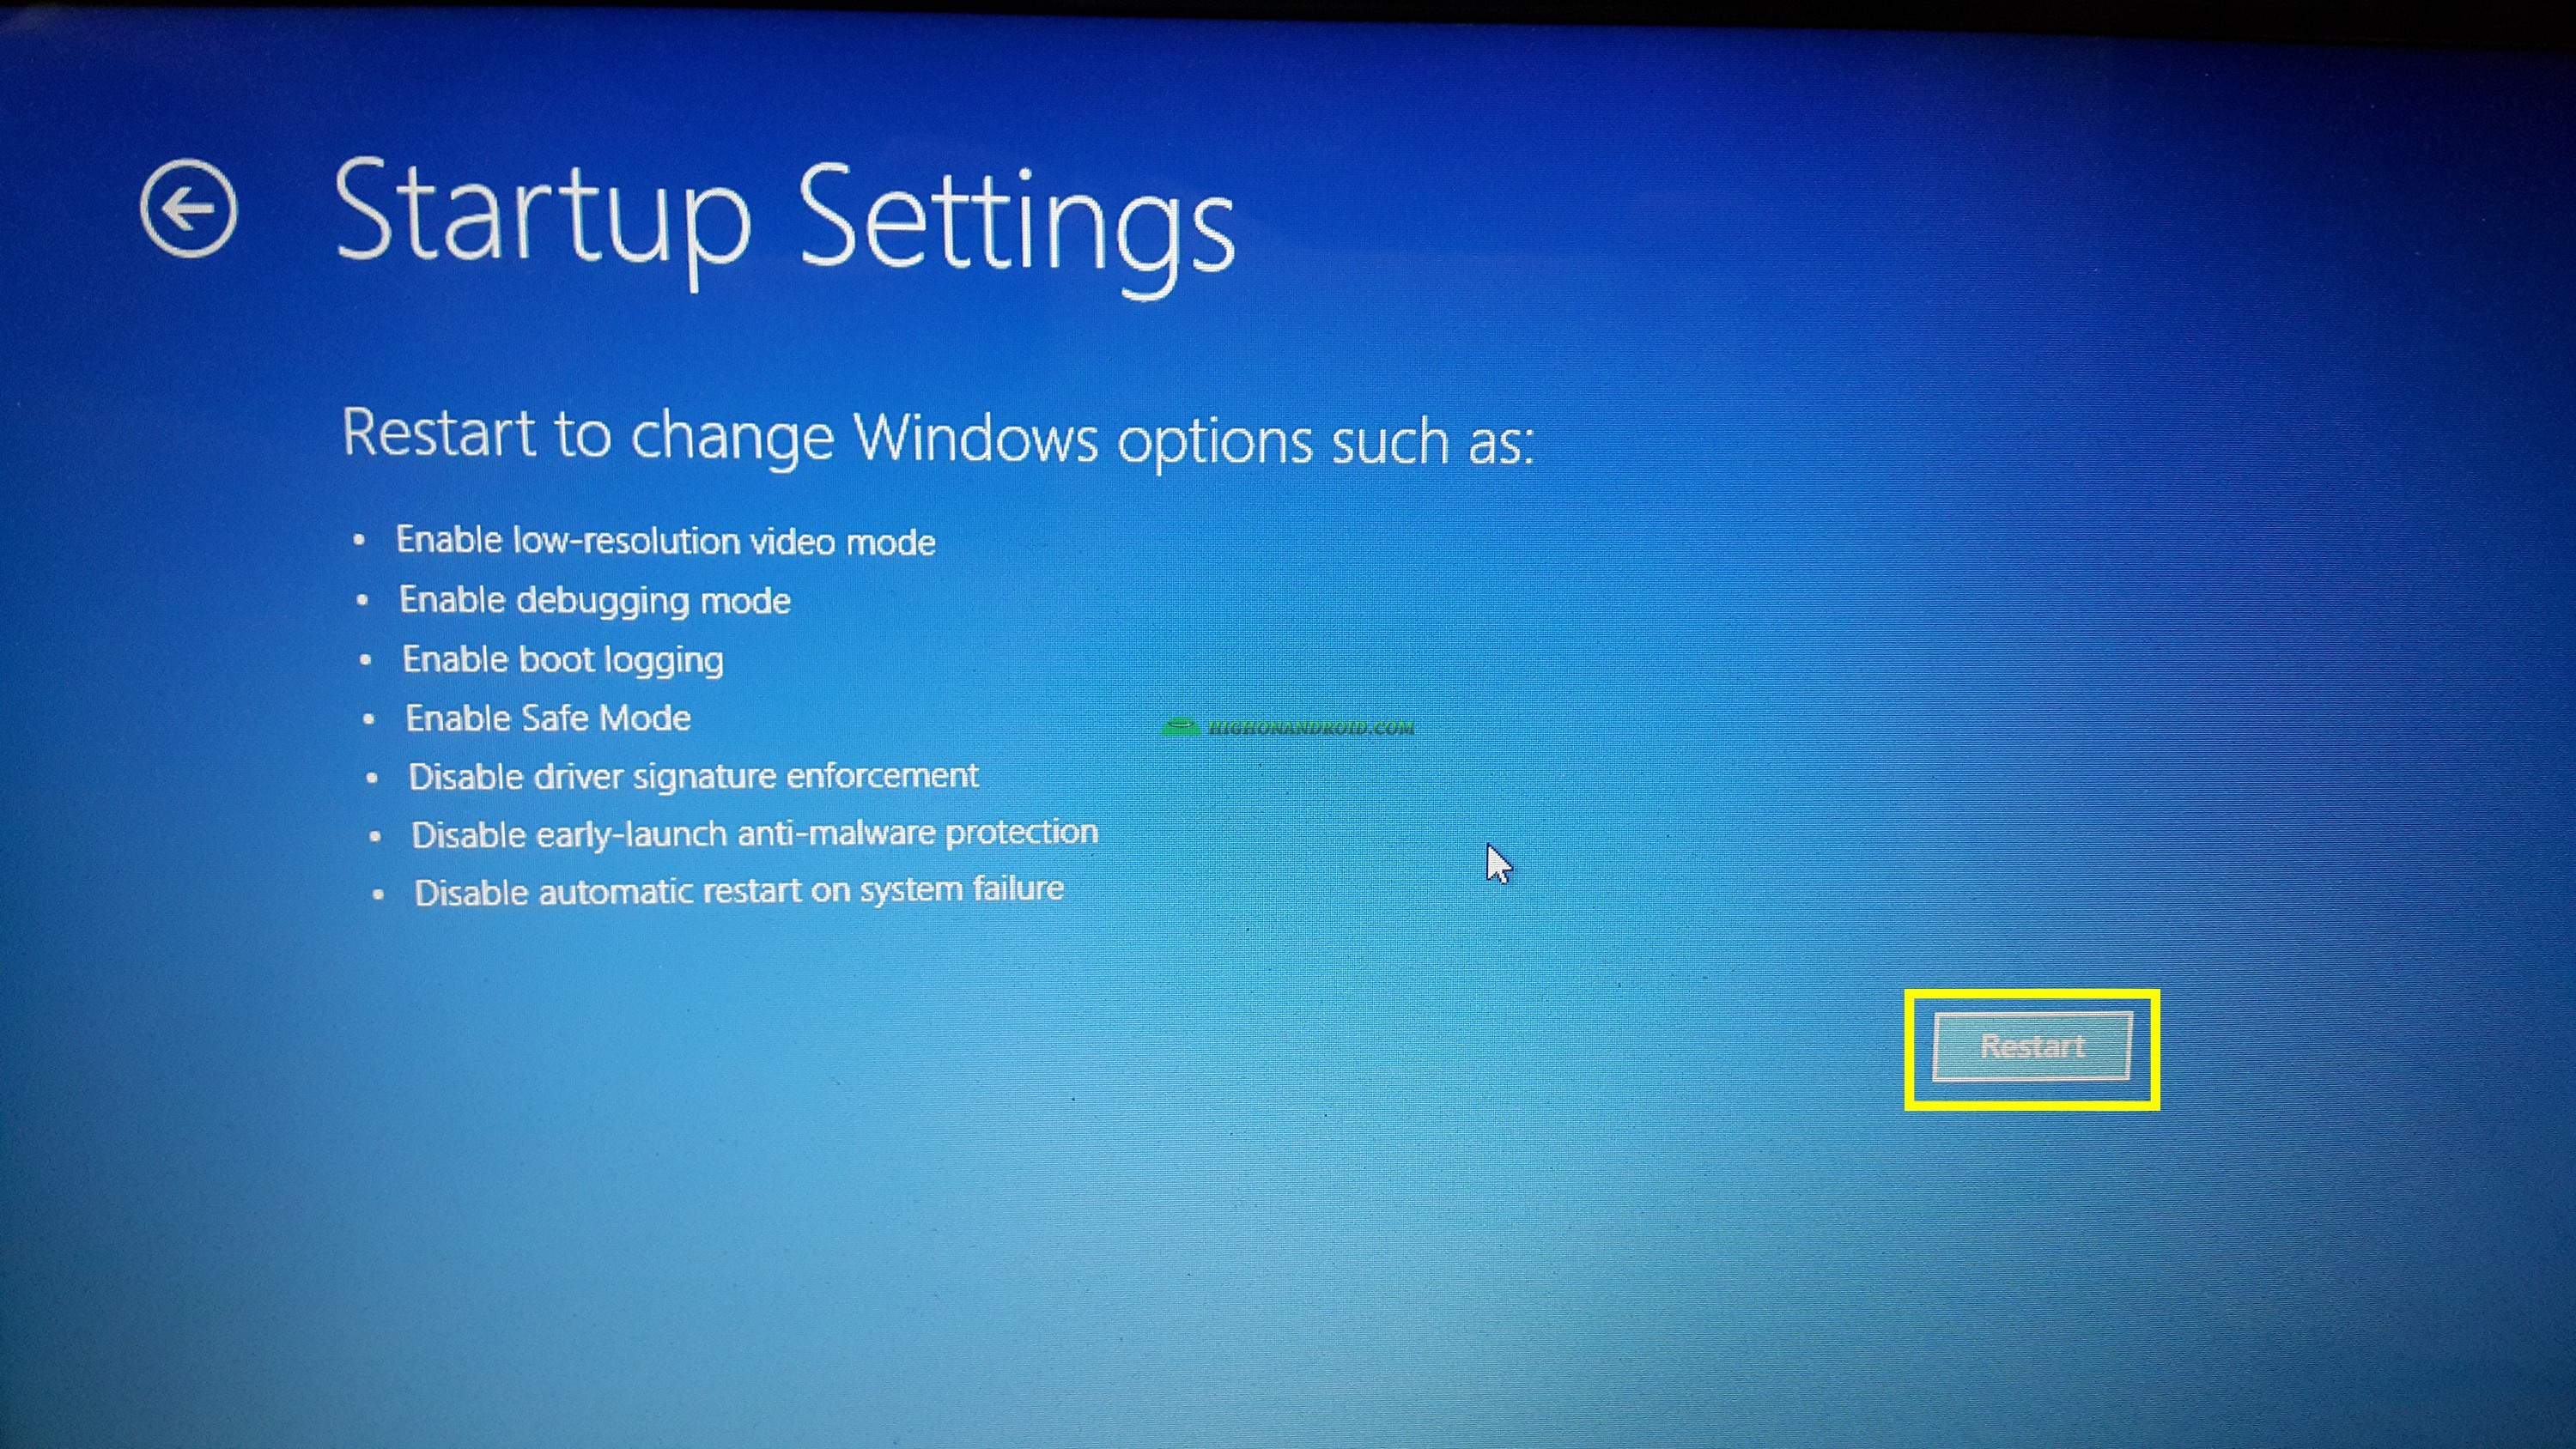
3. The PC will restart and shows the below options at which we proceed as follows Troubleshoot > Advanced Options > Start up Settings > Restart.

4. Plug in your phone to the PC via cable.
5. Your PC will restart again, Press F2 to go to the boot options and head to “boot” tab.
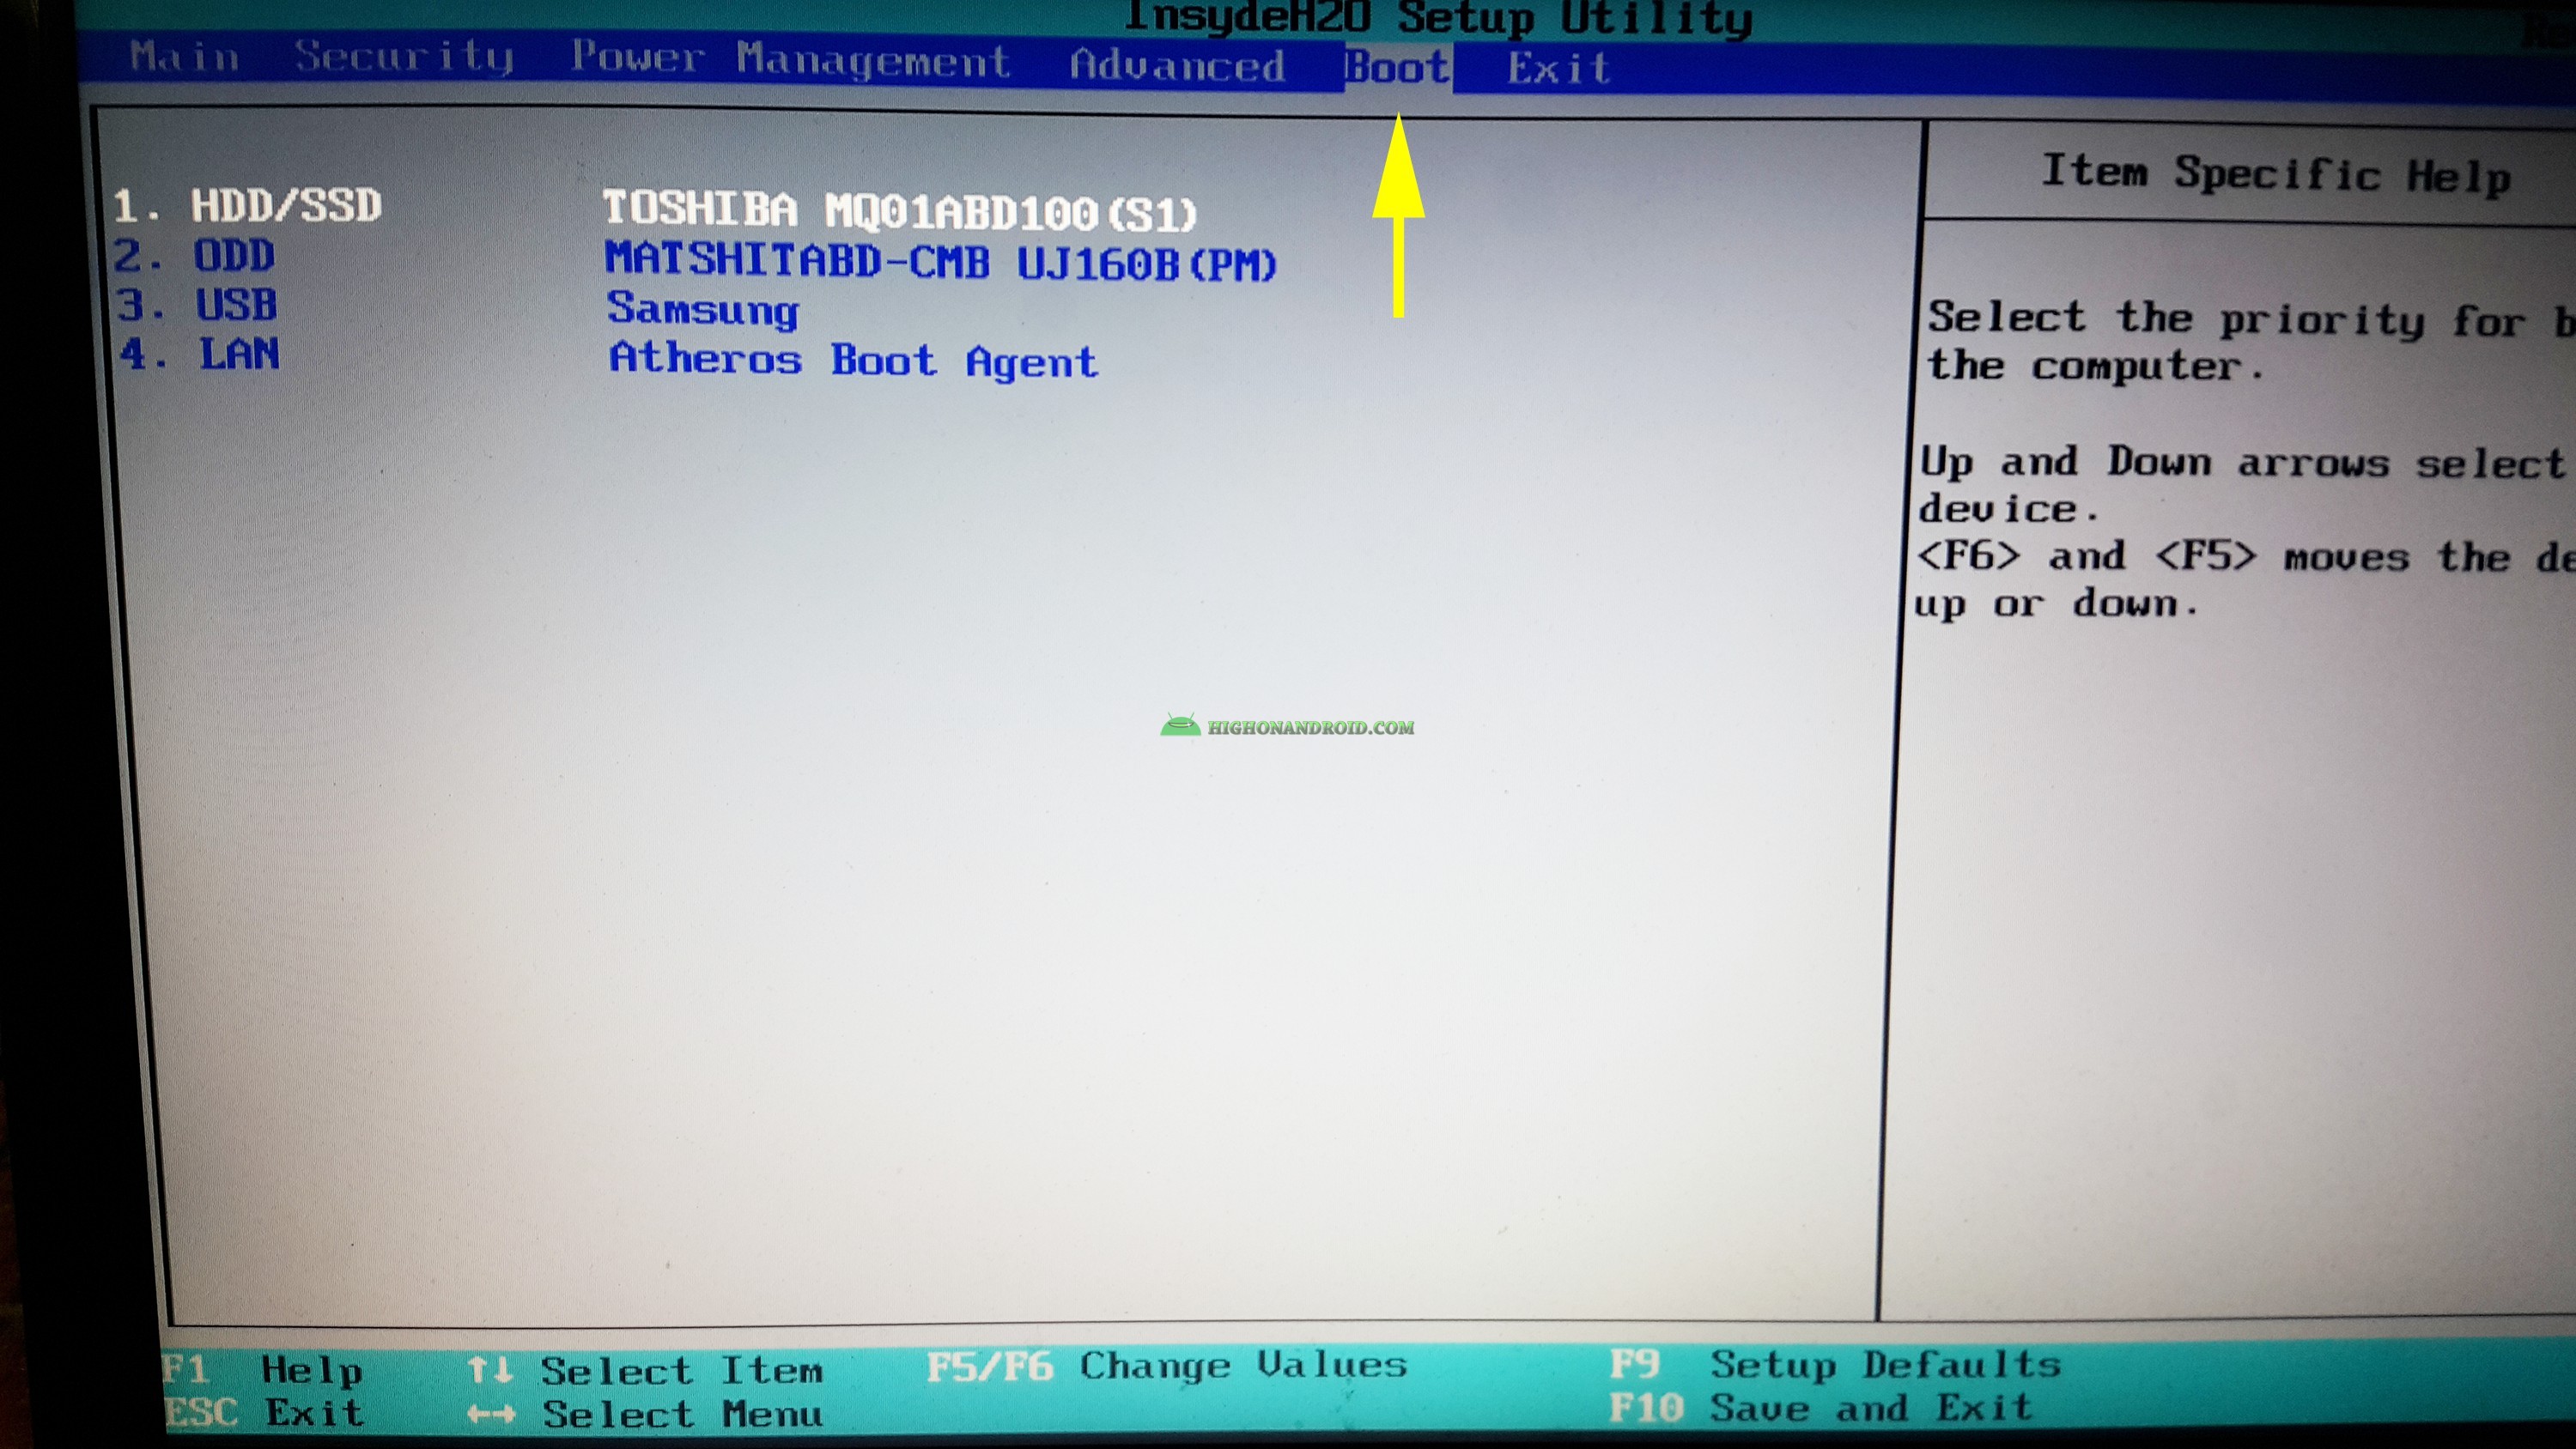
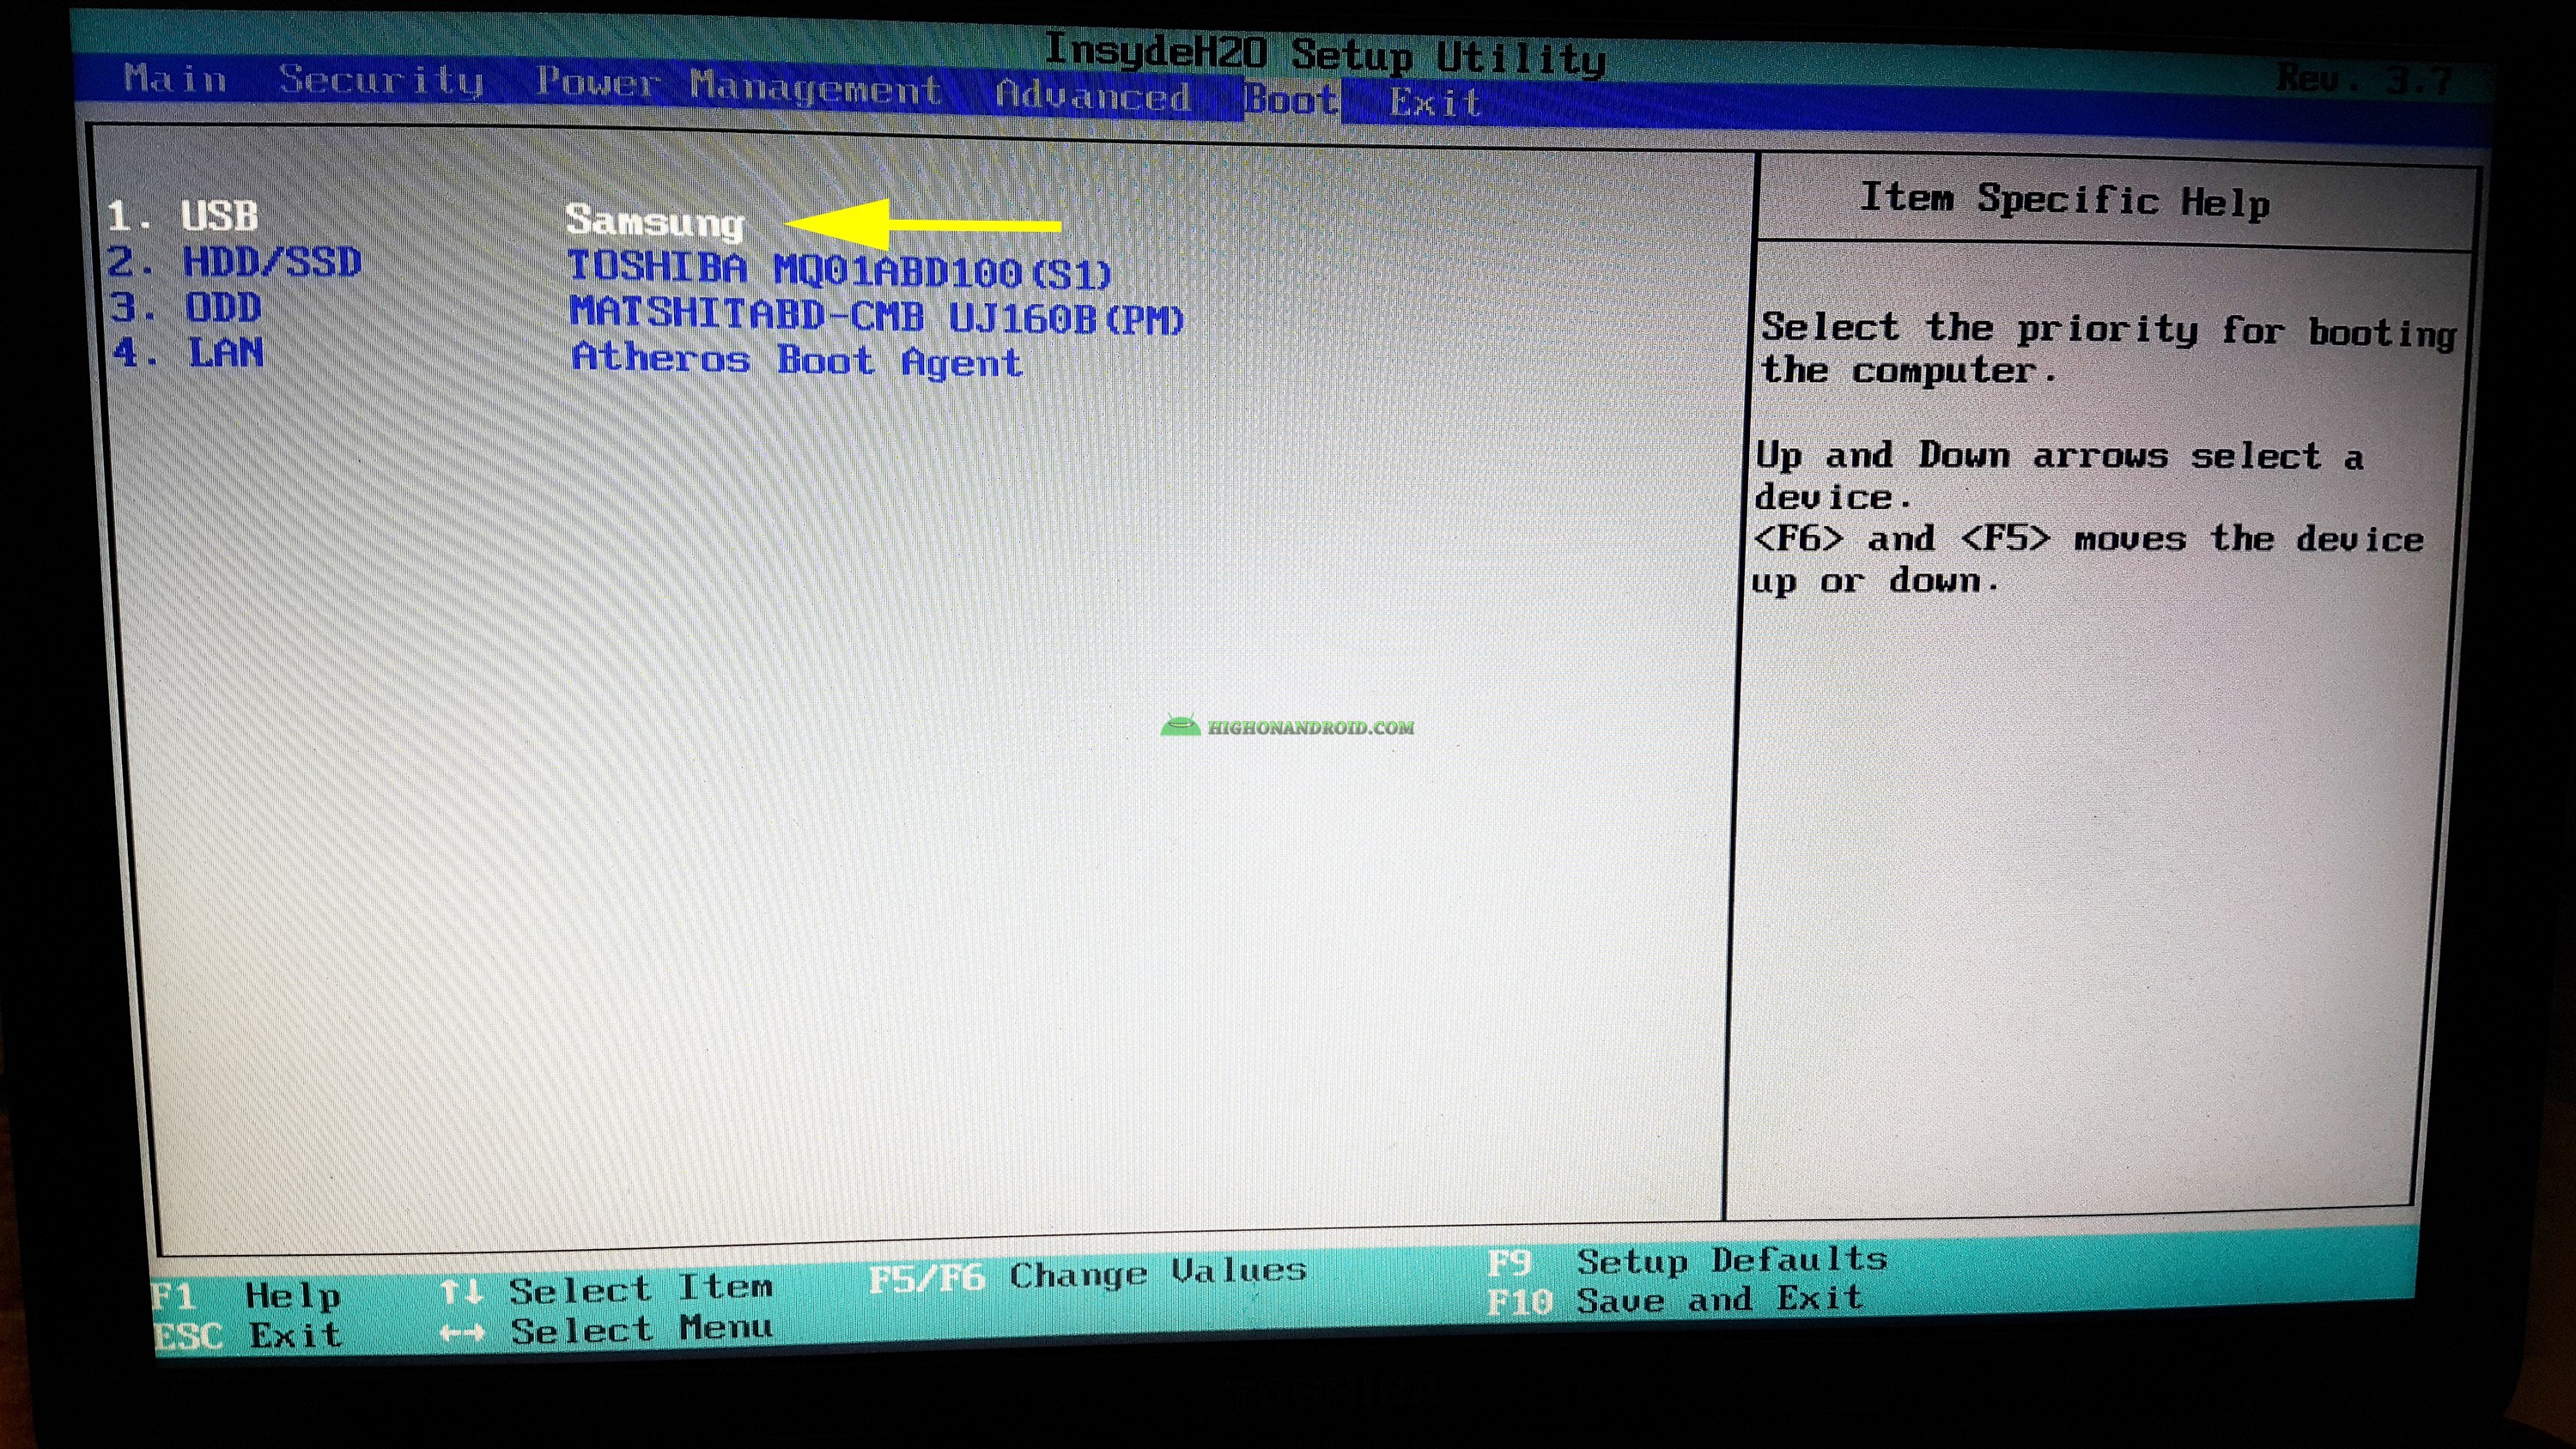
6. As we can see, our phone is No.3 options that shows up as “USB”, we must change its value to No.1 by pressing on F6 key.
7. Finally, press on F10 key and save changes.
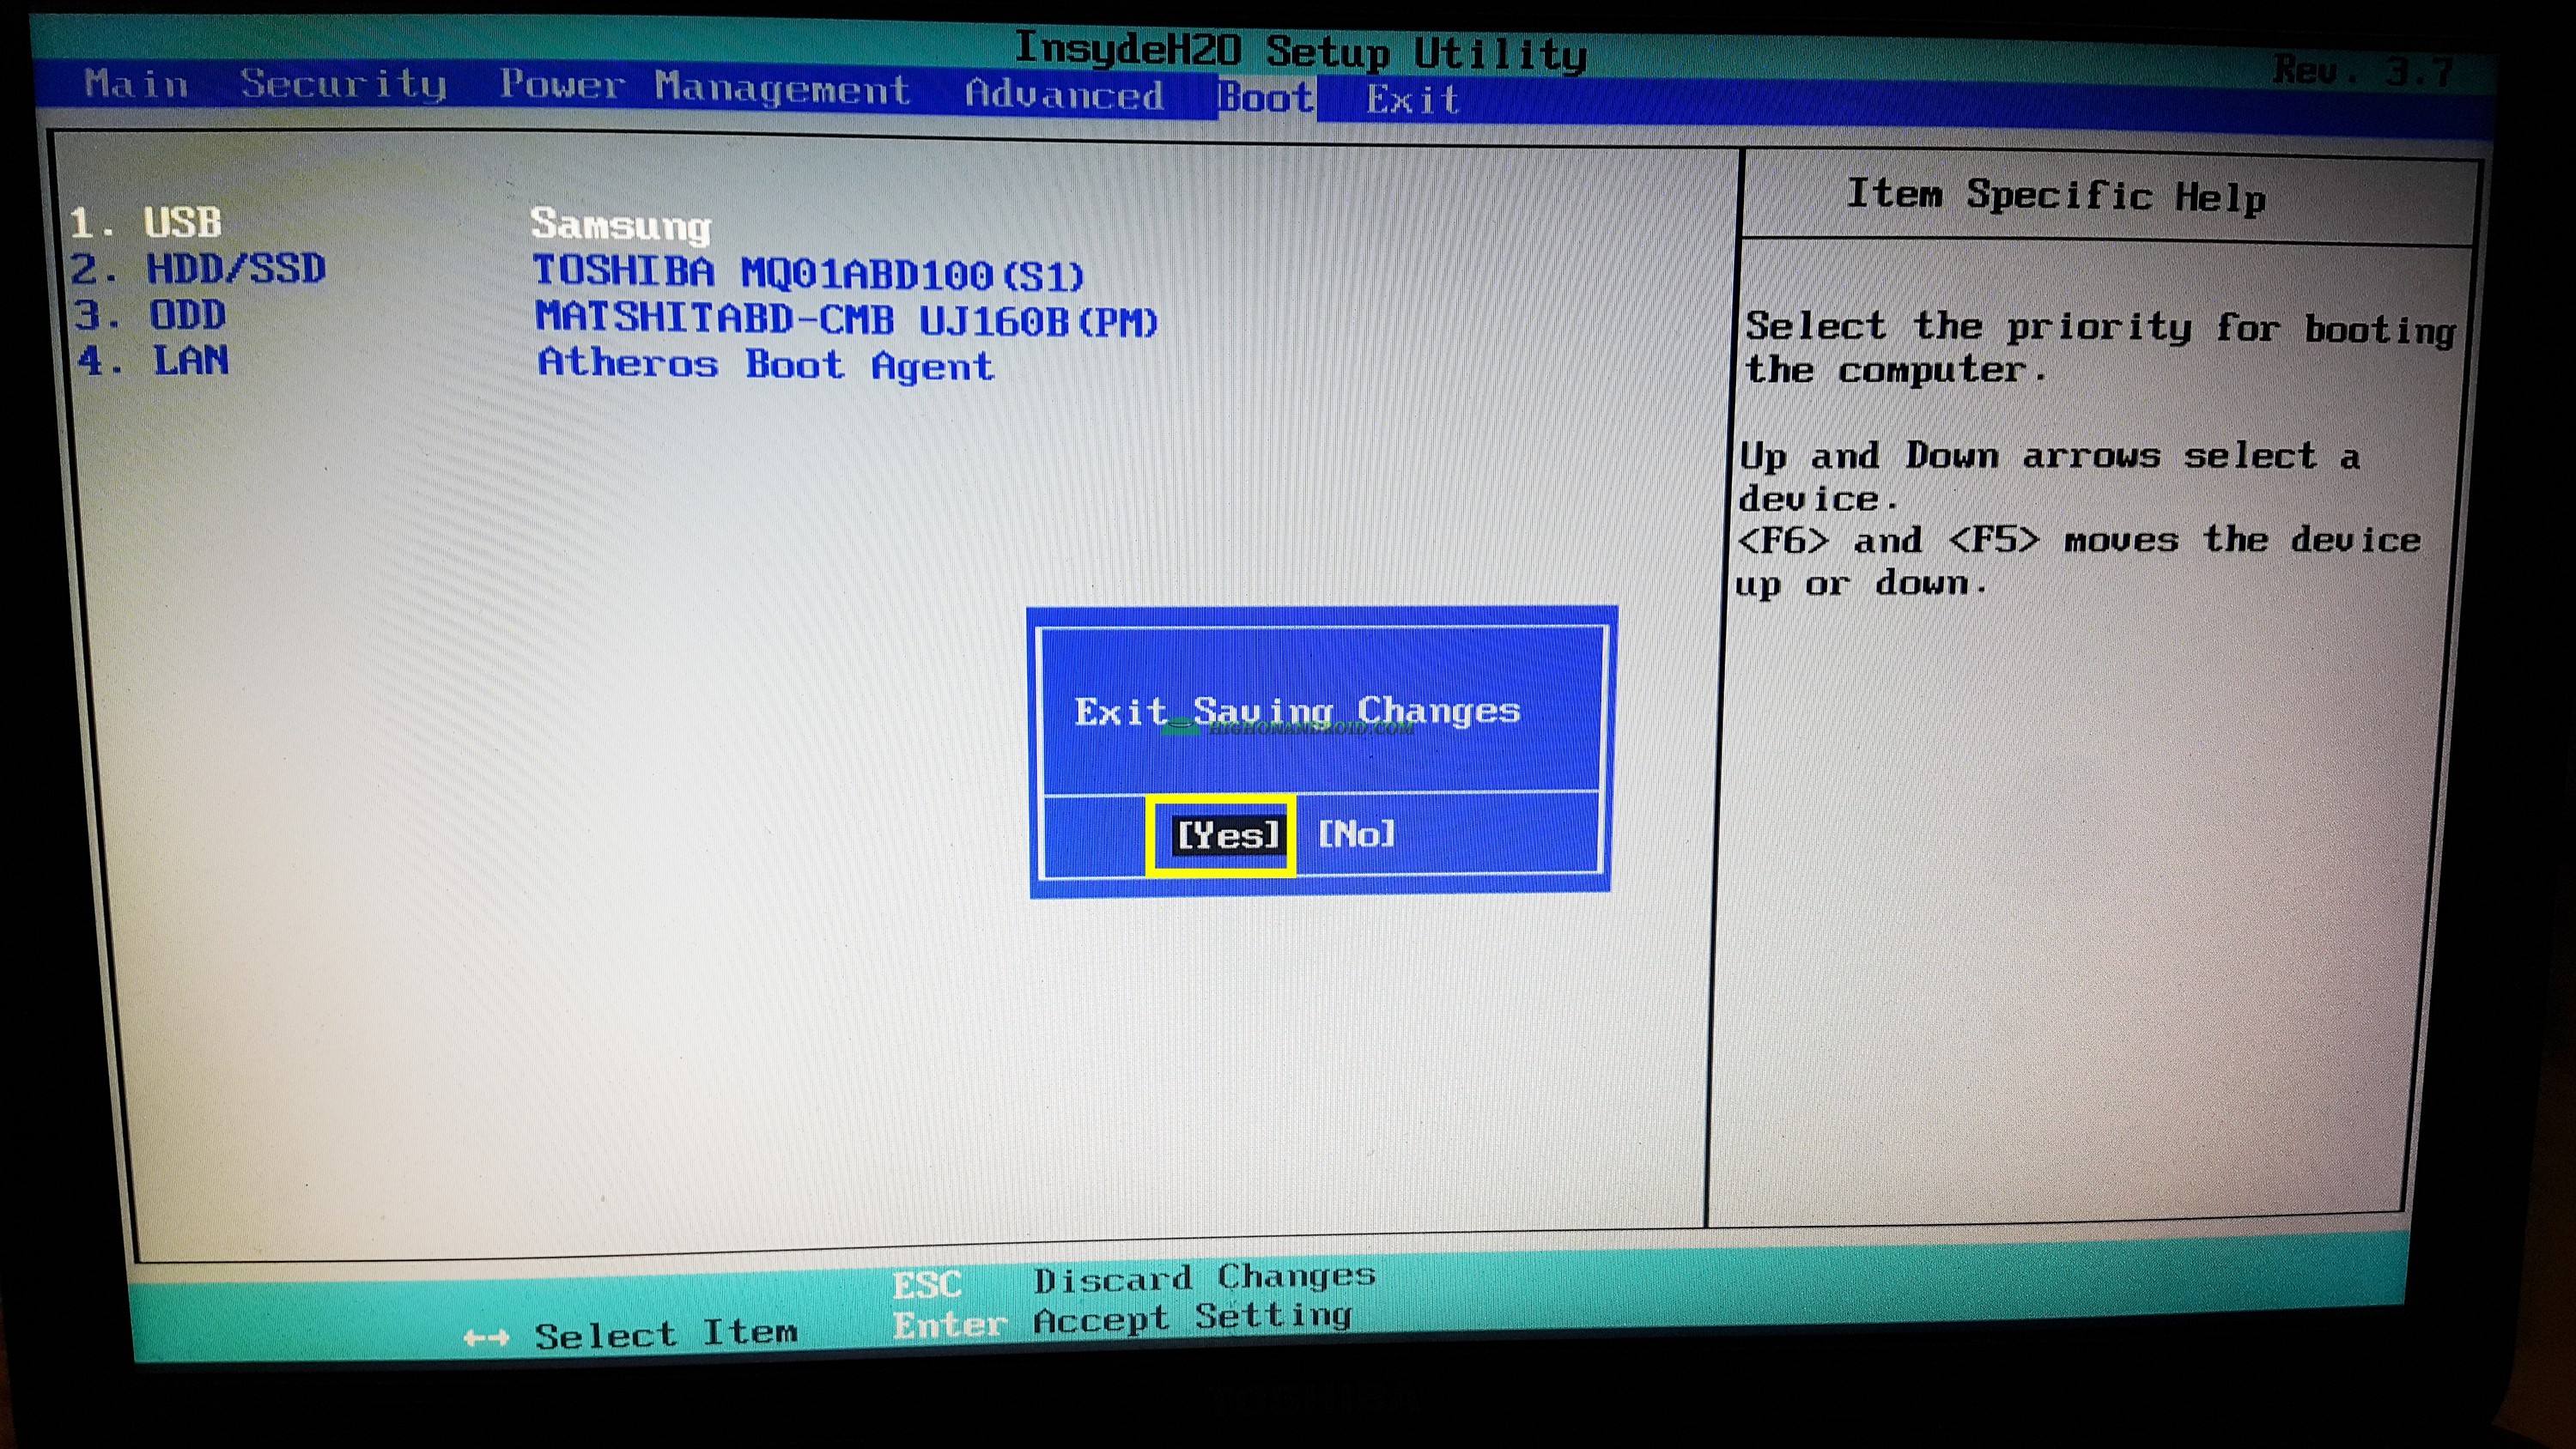
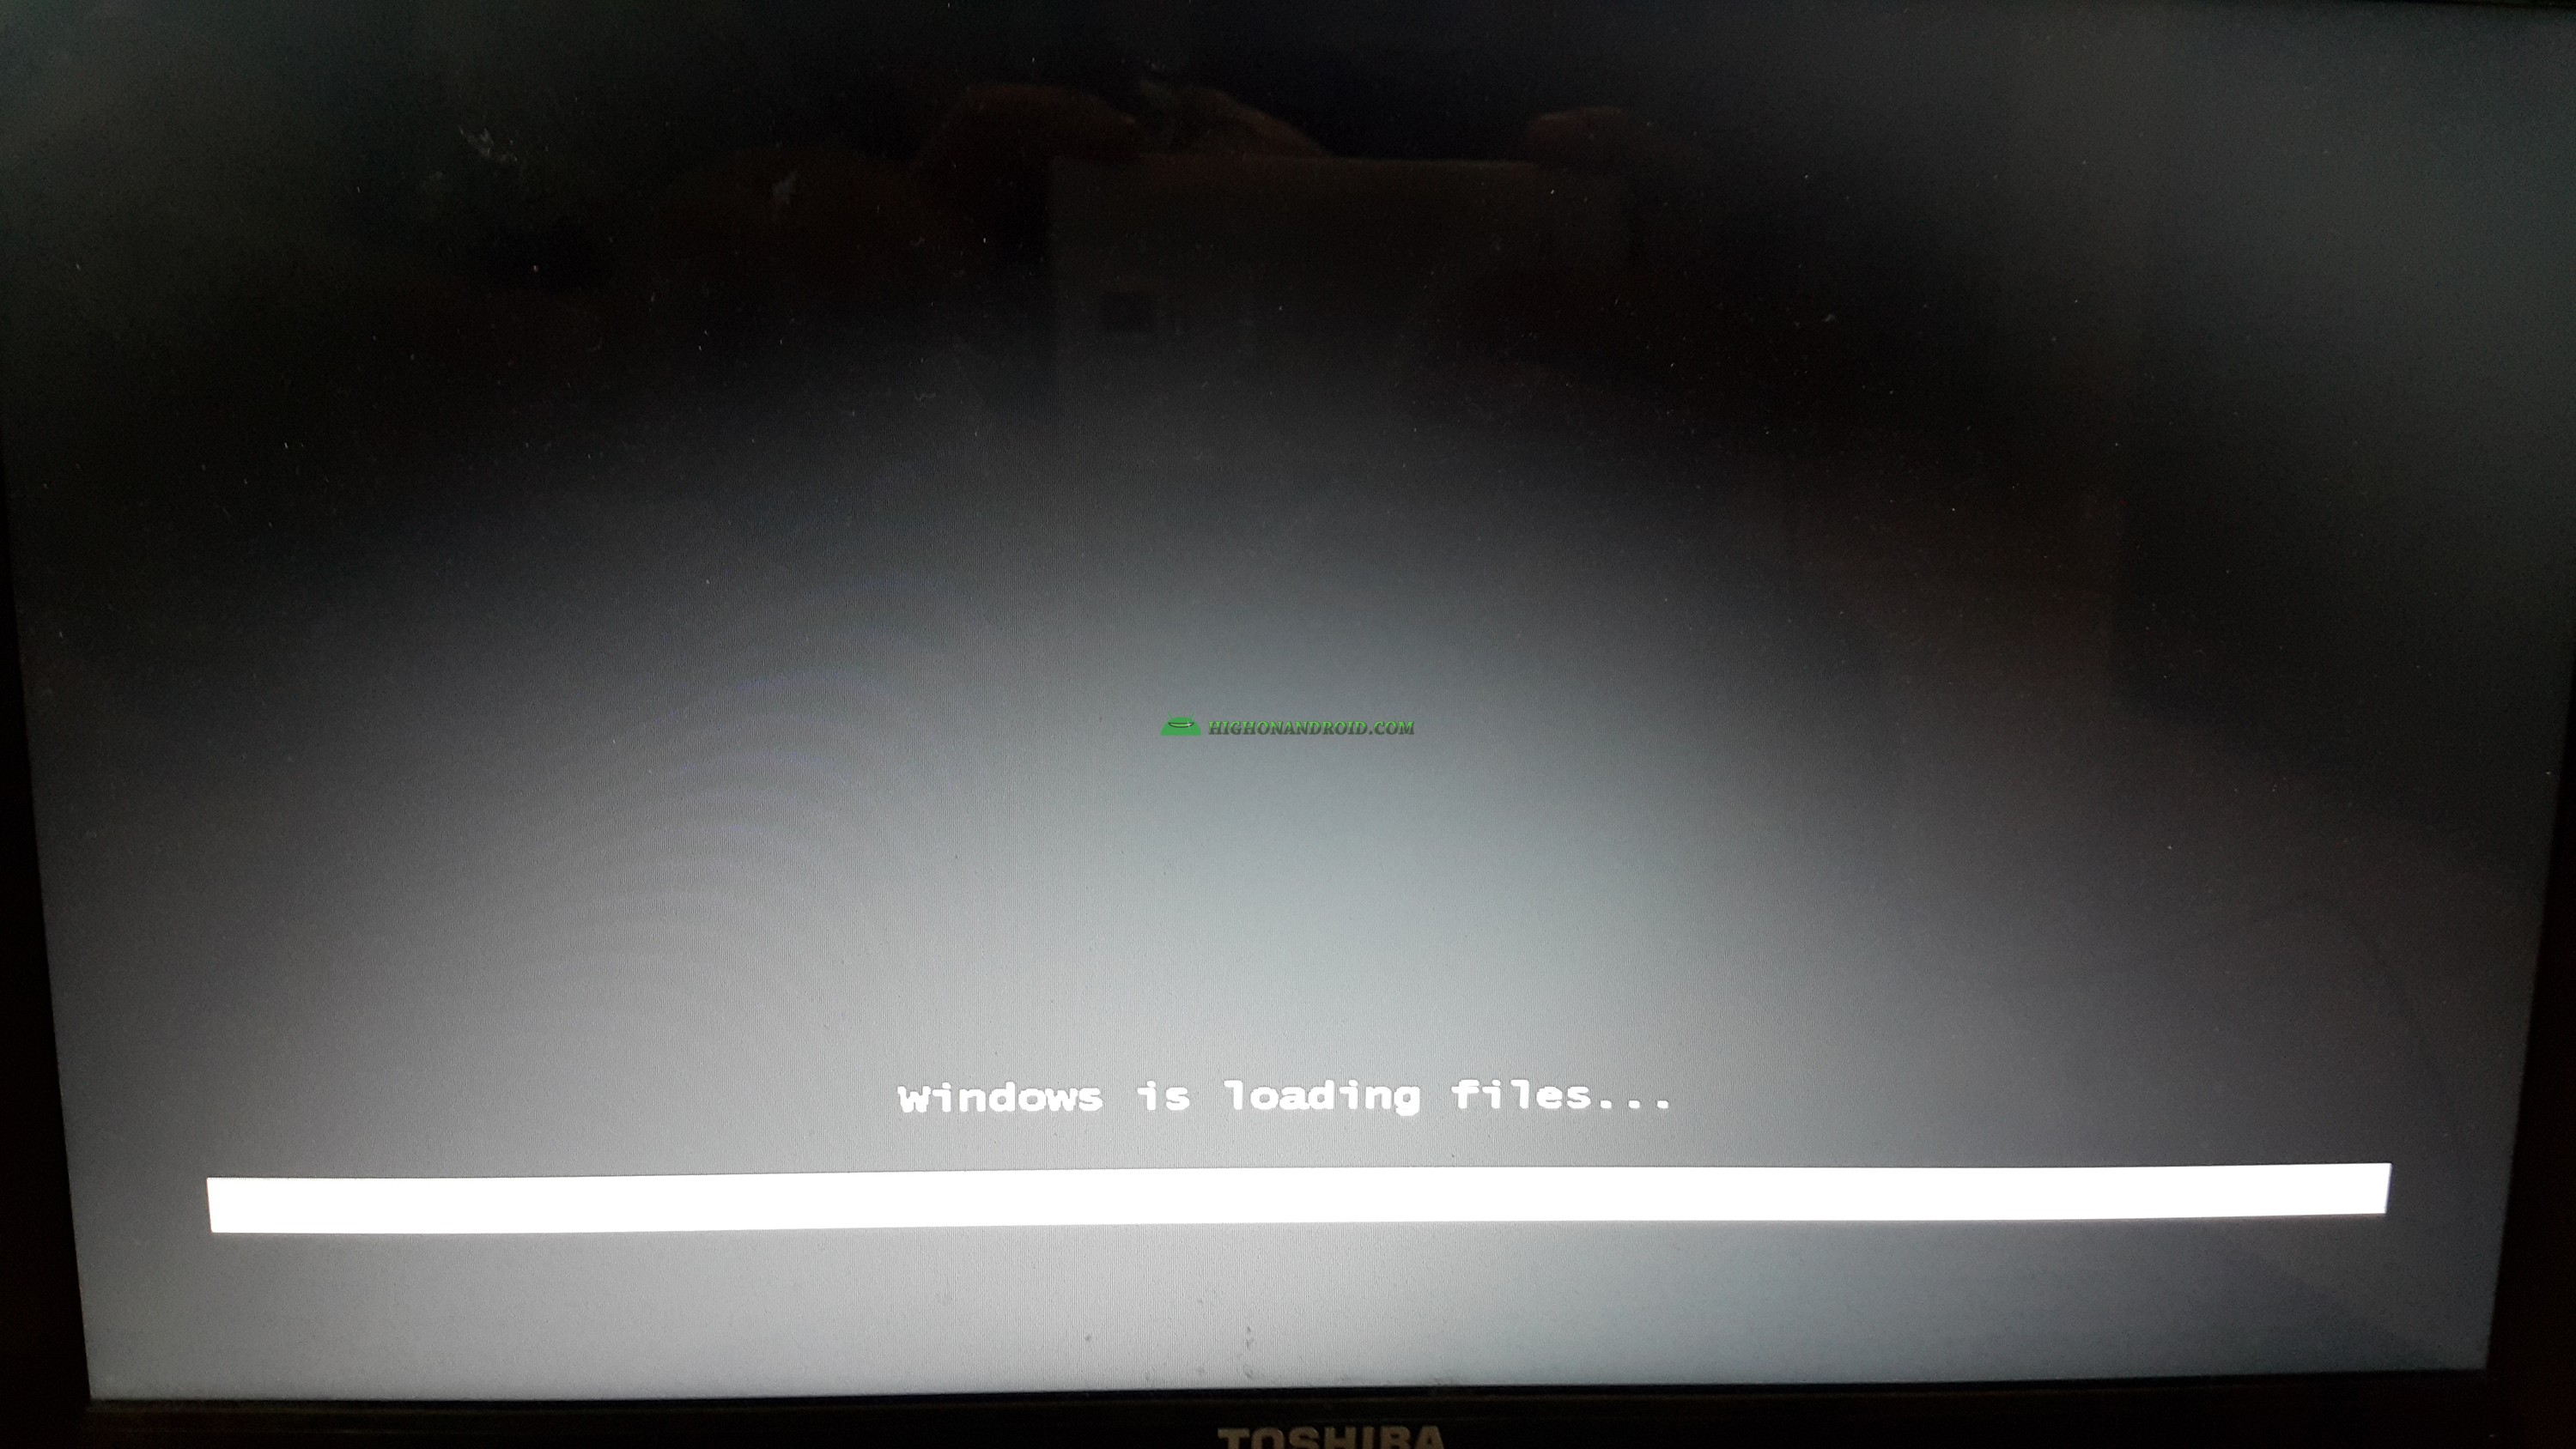
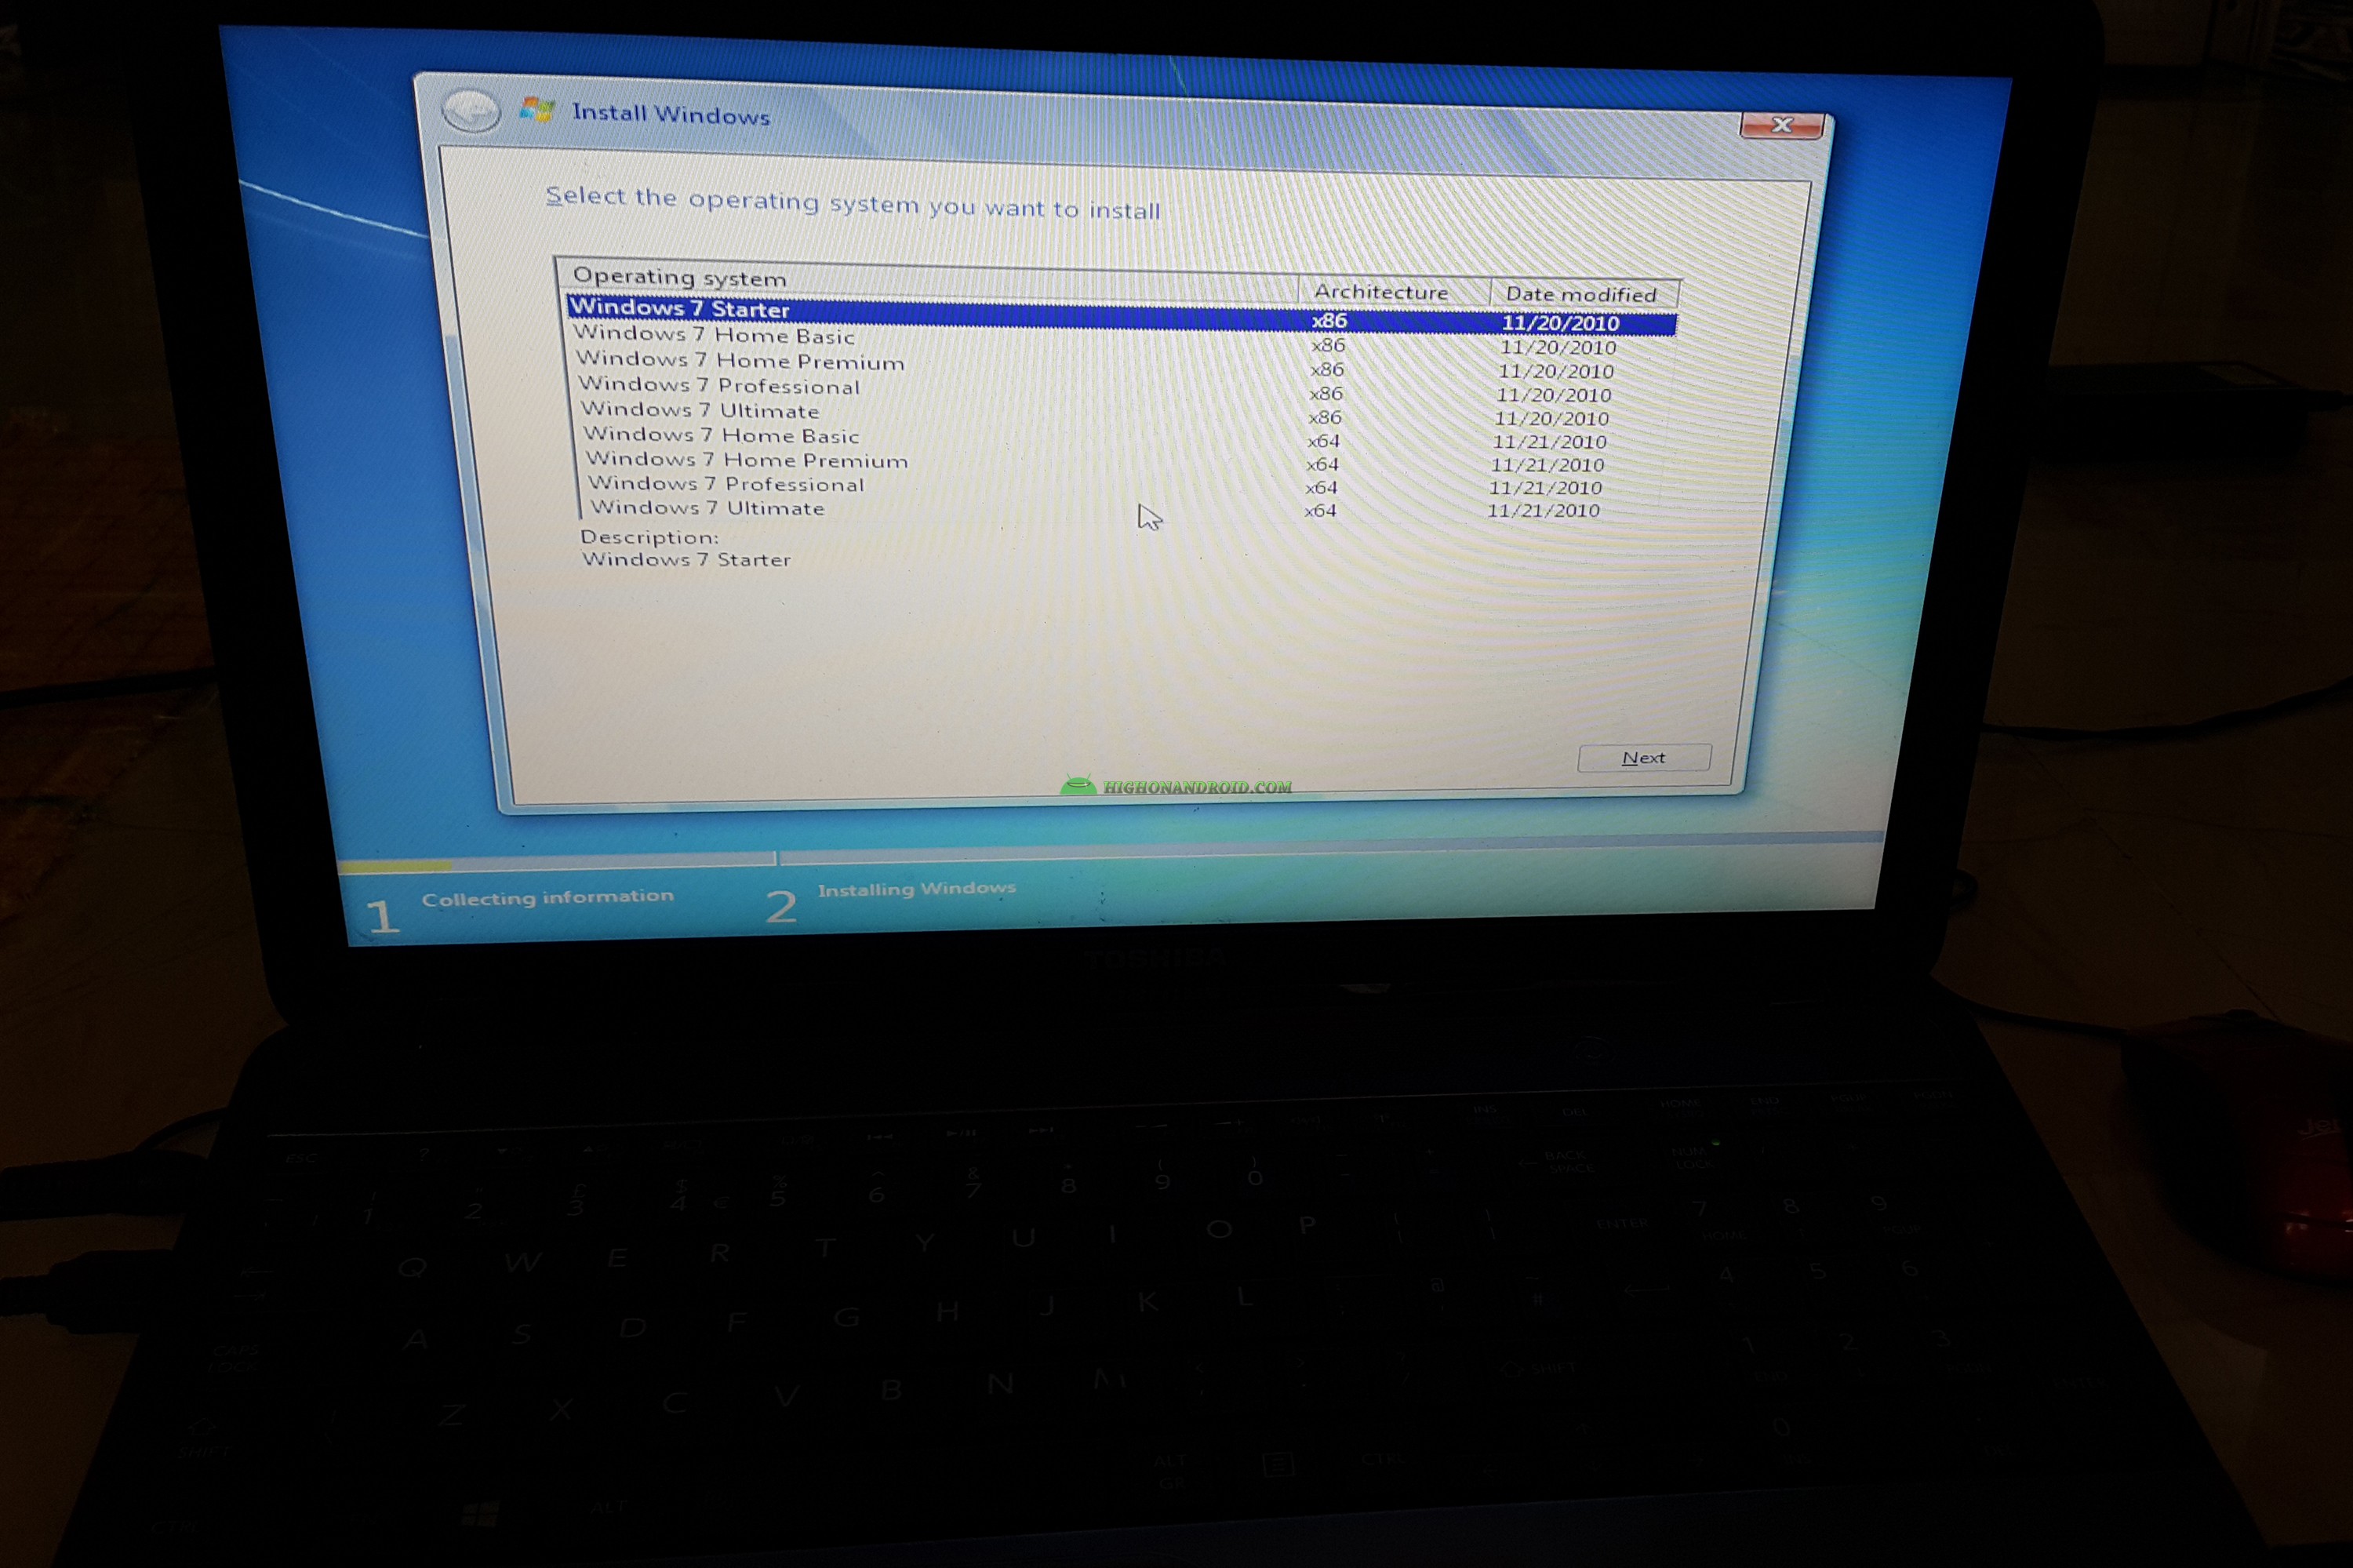
8. Now, your PC should boot into Windows 7.

Have a question?
Please post all your questions at the new Android Rehab Center at HighOnAndroid Forum, thank you for understanding!Join the HighOnAndroid VIP Fans List for free help from Max and discounts on Android accessories.